Pentium 2 Era Computer Reinstall: Creating a Windows 98 Retro Gaming Machine
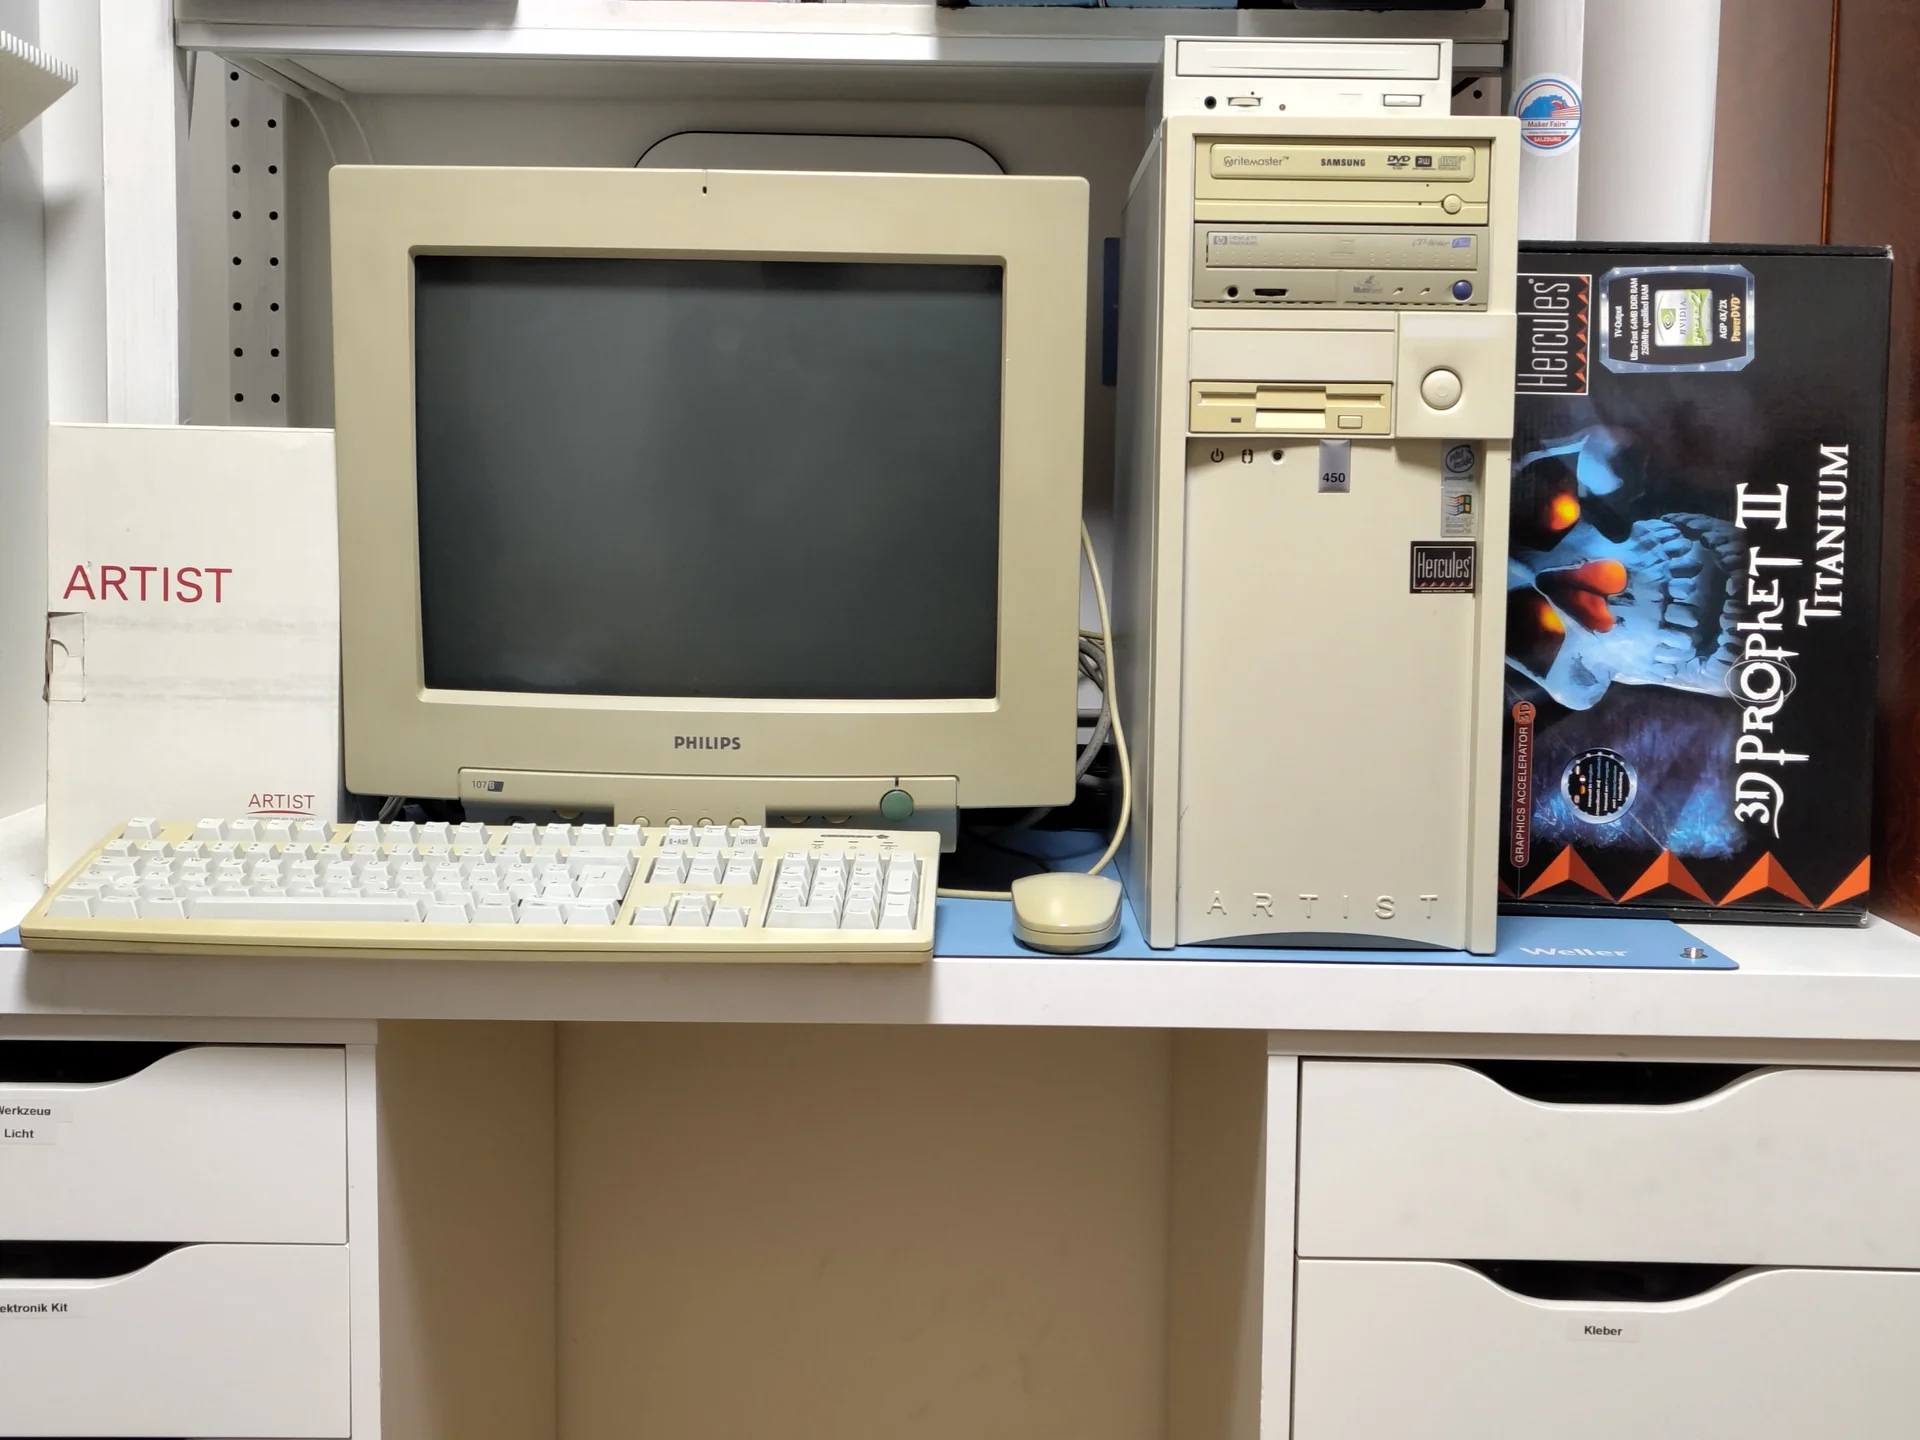
My girlfriend’s brother still had a very well-preserved retro gaming computer from the Pentium 2 era at home, an AMD Duron PC. Since I always feel bad when old hardware ends up in the scrap heap, I decided to refurbish the computer to then sell it on eBay. The following experience report provides instructions on how such an installation works. I’ll also briefly touch on the pitfalls that got in my way during the installation.
Step 1: Creating an MS-DOS Boot Diskette
At the beginning, I recommend to create an MS-DOS boot diskette. Before th reinstall, you probably still have a working operating system on the PC - if you are lucky it is a windows system. This means there is easy access to the floppy disk drive, which PCs from this era usually still have. Floppy disks were often used in the Pentium 2 era to perform emergency boot processes. You should therefore create an emergency boot diskette now, before it potentially becomes much more difficult later.
How the emergency boot diskette is created depends entirely on how the operating system is structured and which Windows is installed. Up to Windows 8.1 this was supported natively by rightclicking a floppy drive in explorer ans selecting “Format > Create MS DOS Start Diskette”. For newer Windows versions , it may be necessary to install DOSBox to create boot diskette in MS DOS as follows:
- Insert floppy.
- run
format /s a:to reformat the disk and automatically copy a minimal MS-DOS environment to it.
Alternatively: run sys a: to write the boot record, then copy COMMAND.COM, IO.SYS, and whatever tools you need at the moment. Those executeables are part of MS DOS. To get access, it’s recommended to download DOS 6.2.2, because that’s the last and therefore also the most mature version. MS-DOS 6.2.2 can be obtained as an image from Archive.org, and then you mount the image in a virtual CD-ROM drive and copy the data to the hard drive. After the diskette has been appropriately prepared and made bootable, copy the MS-DOS boot diskette data onto the diskette. It is important that the MS-DOS version used supports the XCOPY command to be able to copy data. We will see in Step 5, why this is important.
Excursus: Why an MS-DOS Boot Diskette?
During my installation attempt, I didn’t use an MS-DOS boot diskette. I had two hard drives with two pre-installed operating systems on the PC: Windows XP on the first hard drive, Lubuntu 12.04 on the second hard drive. During my first attempts to install Windows 98, I formatted the first hard drive to install Windows 98 there. I thus no longer had access to XP and it turned out to be surprisingly difficult to create an MS-DOS boot diskette under Linux.
It is necessary to have a current Linux to be able to install a DOSBox emulator from the current package sources. But Lubuntu 12.04 is far to old for the package manager to still work. Simply copying the MS-DOS data onto the diskette also isn’t enough to make it bootable, and thus there was no easy way to create a bootable diskette.
I also didn’t have another PC that had a floppy disk drive. As a result, creating an MS-DOS system diskette didn’t work for me. Fortunately, however, I then found a workaround. But the MS-DOS boot diskette would have made my life significantly easier.
Step 2: Creating a Windows 98 Boot CD-ROM
To create this CD-ROM, you simply download the image from Archive.org and burn it to a CD-R with a burning program of your choice. If available, a CD-RW is also suitable to be able to reuse the data carrier for other purposes later. I used Wodim under Ubuntu to burn the ISO file. But any other burning program works as well, such as Nero - Bruning ROM under Windows.
Once the CD is ready, it’s time for the actual installation.
Excursus: Why a CD-ROM for Reinstalling Windows 98?
While Windows 98 already supports USB, booting from USB sticks was still rather unusual at the time of Windows 98. The usual installation method was installation via CD-ROM. While it’s theoretically possible to install from a USB stick, at least that’s what my research on the internet revealed, I decided on a CD-ROM installation for simplicity’s sake.
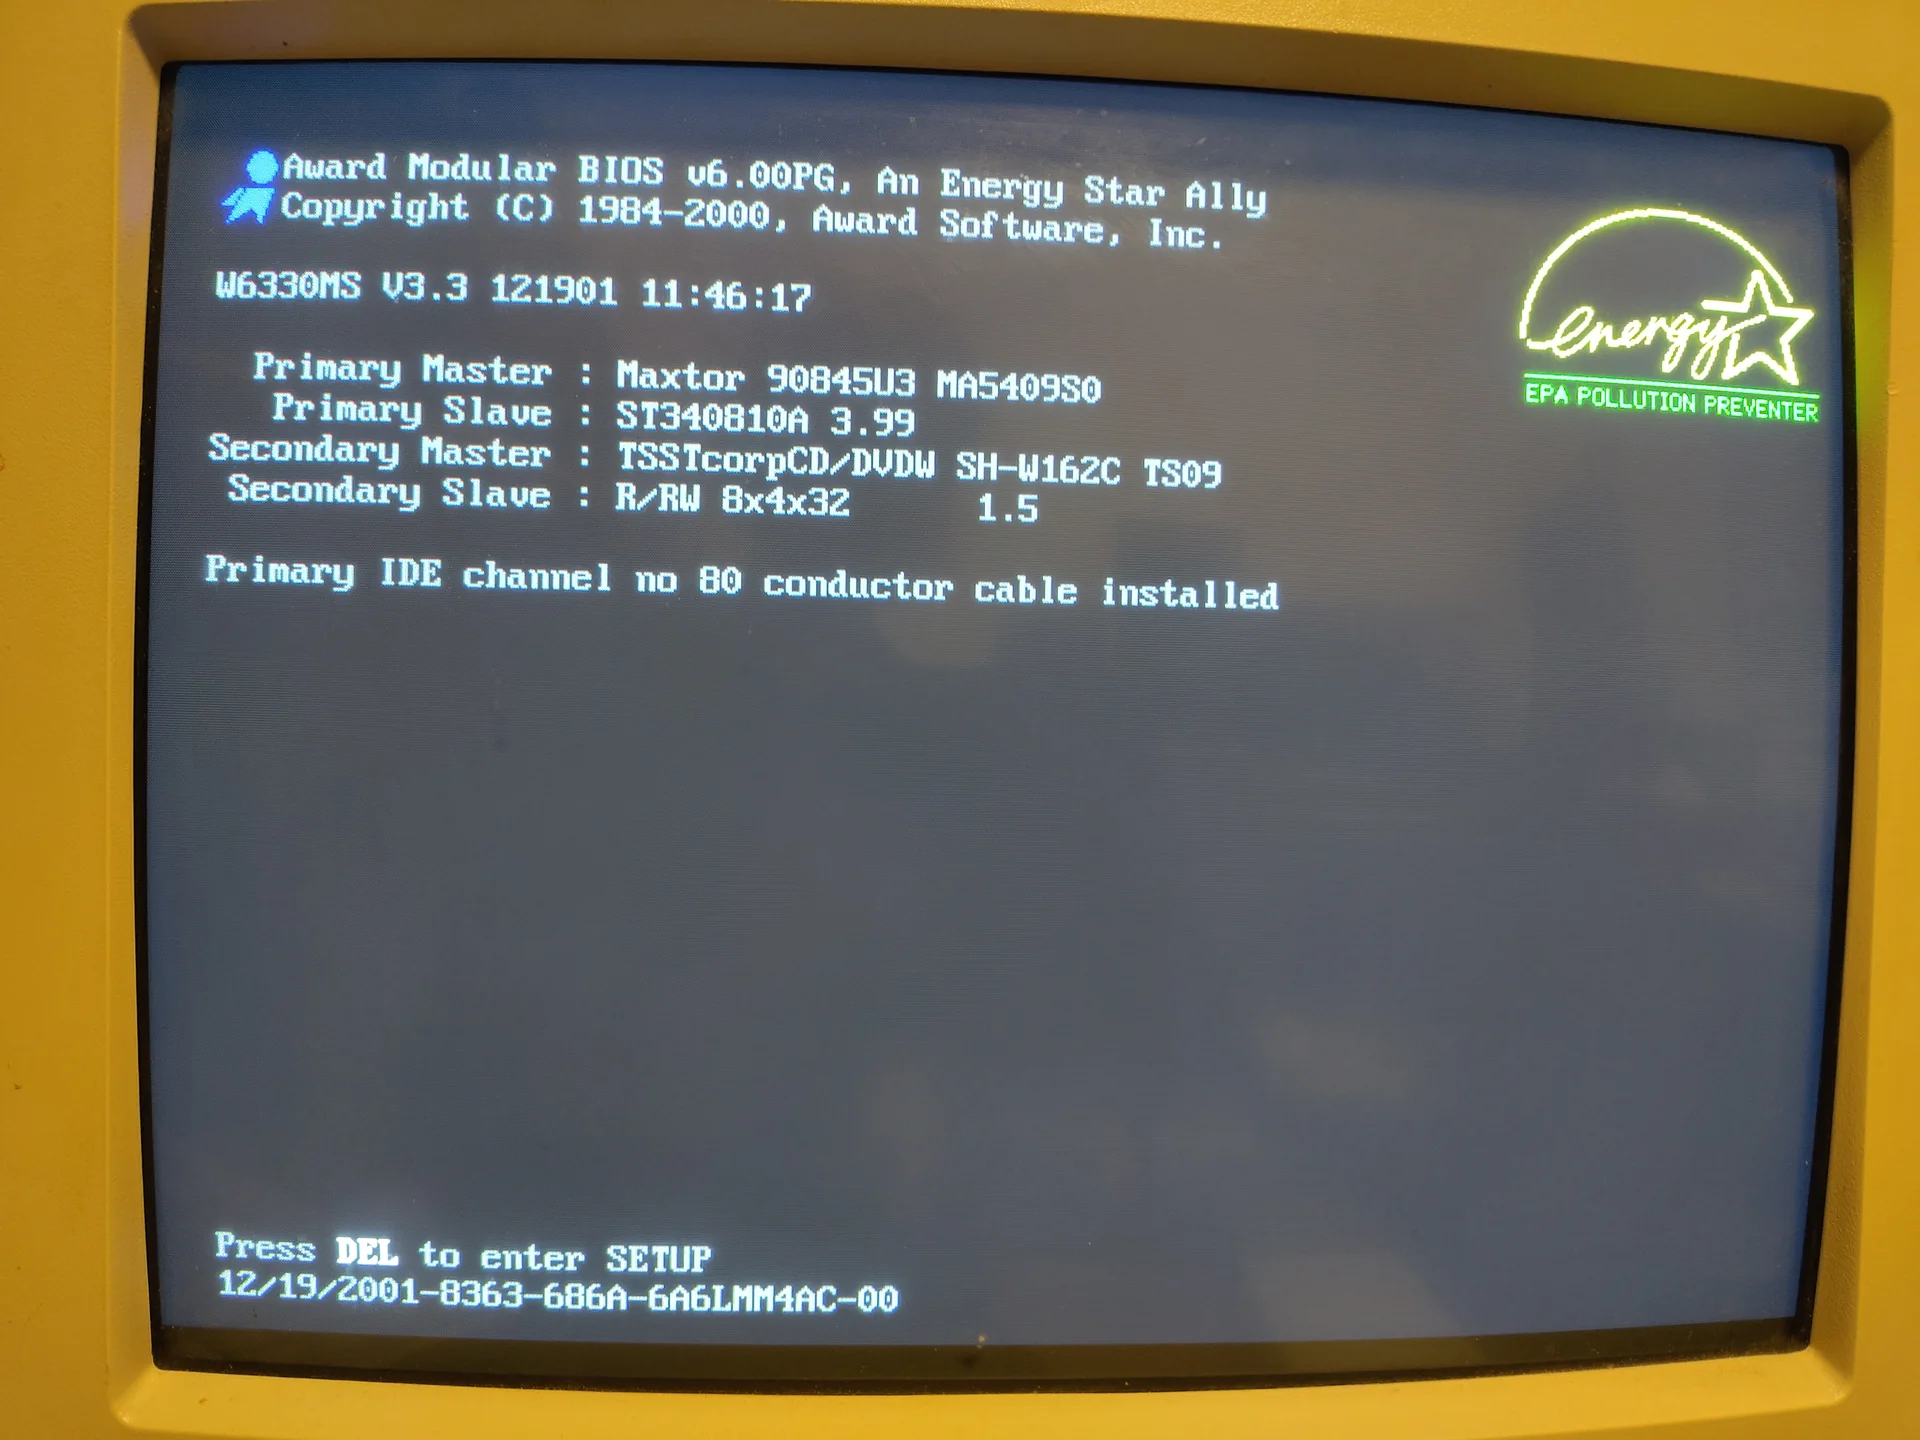
Step 3: Configuring the Boot Menu
To be able to boot from the created data carriers, an appropriate configuration must now be performed in the boot menu. Depending on the computer type, the key combination used to access the boot menu is different. On my computer, when the boot screen appears, the DEL key had to be pressed to access the boot menu. There I set the appropriate boot order:
- floppy disk,
- CD-ROM
- hard drive.
Prepared in this way, the boot process can now be performed from the corresponding installation media.
Step 4: Formatting the C Partition
Actually, the Windows 98 setup is meant to format the hard drive before istnalling. However, in my case this didn’t work. During Windows 98 setup, a ScanDisk process is performed. And if the corresponding hard drive has corrupt sectors, ScanDisk fails and thus also the formatting of the hard drive.
For this reason, I had to perform the formatting manually. I did this by using a Partition Magic 4 boot diskette. You can download Partition Magic from WinWorld and create a boot diskette.
Now insert the diskette into the floppy disk drive, start up the PC, and if the boot order was set correctly in the previous step, the PC boots into Partition Magic’s graphical user interface. There the C partition can be selected and formatted accordingly. Now the PC is ready for Windows 98 setup.
FAT32 is the appropriate partitioning type for Windows 98, because it’s an older 32-bit Windows system. Thus, it does not yet support NTFS, the Windows NEw Technology File System built for Windows NT and it’s successors.
Step 5: Copying Windows 98 to the Empty Partition
Actually, Windows 98 setup should boot from the CD-ROM, format the hard drive and install the OS directly. Unfortunately, in my case that didn’t work because during Windows 98 setup there were no functioning CD-ROM drivers available that would have enabled setup from CD-ROM. The CD-ROM was recognized and I could access it, but the setup didn’t work. When I started the setup a screen appeared saying “Formatting hard disk. Please Wait. Setup is formatting your harddisk. Please insert the following disk to drive d (or your cd rom drive): Windows 98 boot disk or CD-ROM”. When I pressed enter, I saw a progress bar for a short time, then there was a beep and the message signaling to put in the boot cd room reappeared.
Fortunately, there’s a workaround that ChatGPT recommended me:
- boot the MS-DOS diskette
- use the XCOPY command that’s available to you in the MS-DOS prompt: copy the entire contents of the CD-ROM with the Windows 98 installation onto the empty formatted hard drive. In our case, onto the C partition.
in the next step you can start the setup directly from the C hard drive by calling Setup.exe on the C hard drive in the MS-DOS prompt.
But in my case that didn’t work either because I couldn’t create an MS-DOS system diskette. So I had to help myself differently. To my advantage, I had hard drives available and Linux was still installed on the second hard drive, which I could boot into even after the C hard drive was formatted. Under Linux, I then copied the contents of the Windows 98 CD onto the C hard drive. From Linux, I couldn’t call the Setup.exe of Windows 98, because it is a Windows executable and thus incompatible with Lubuntu 12.04.
So I rebooted, from the Windows 98 CD-ROM, and then didn’t select the setup option in Windows 98, but rather the option to get into a command line environment started from the CD-ROM. That gave me a very reduced MS-DOS-like environment.
Now naturally the question arises, if you can boot into a DOS-like environment from the Windows 98 CD-ROM anyway, why create an MS-DOS boot diskette? Well, unfortunately the boot environment of the Windows 98 CD-ROM doesn’t support an XCOPY command and thus it’s not possible to copy data to the C hard drive. That’s why it is recommended to create an MS-DOS boot diskette as the very first step.
In my case, the simple MS-DOS environment from the Windows 98 CD-ROM was fortunately sufficient, because I had previously copied over all setup files. I could then simply execute C:\Setup.exe and start the Windows 98 setup.
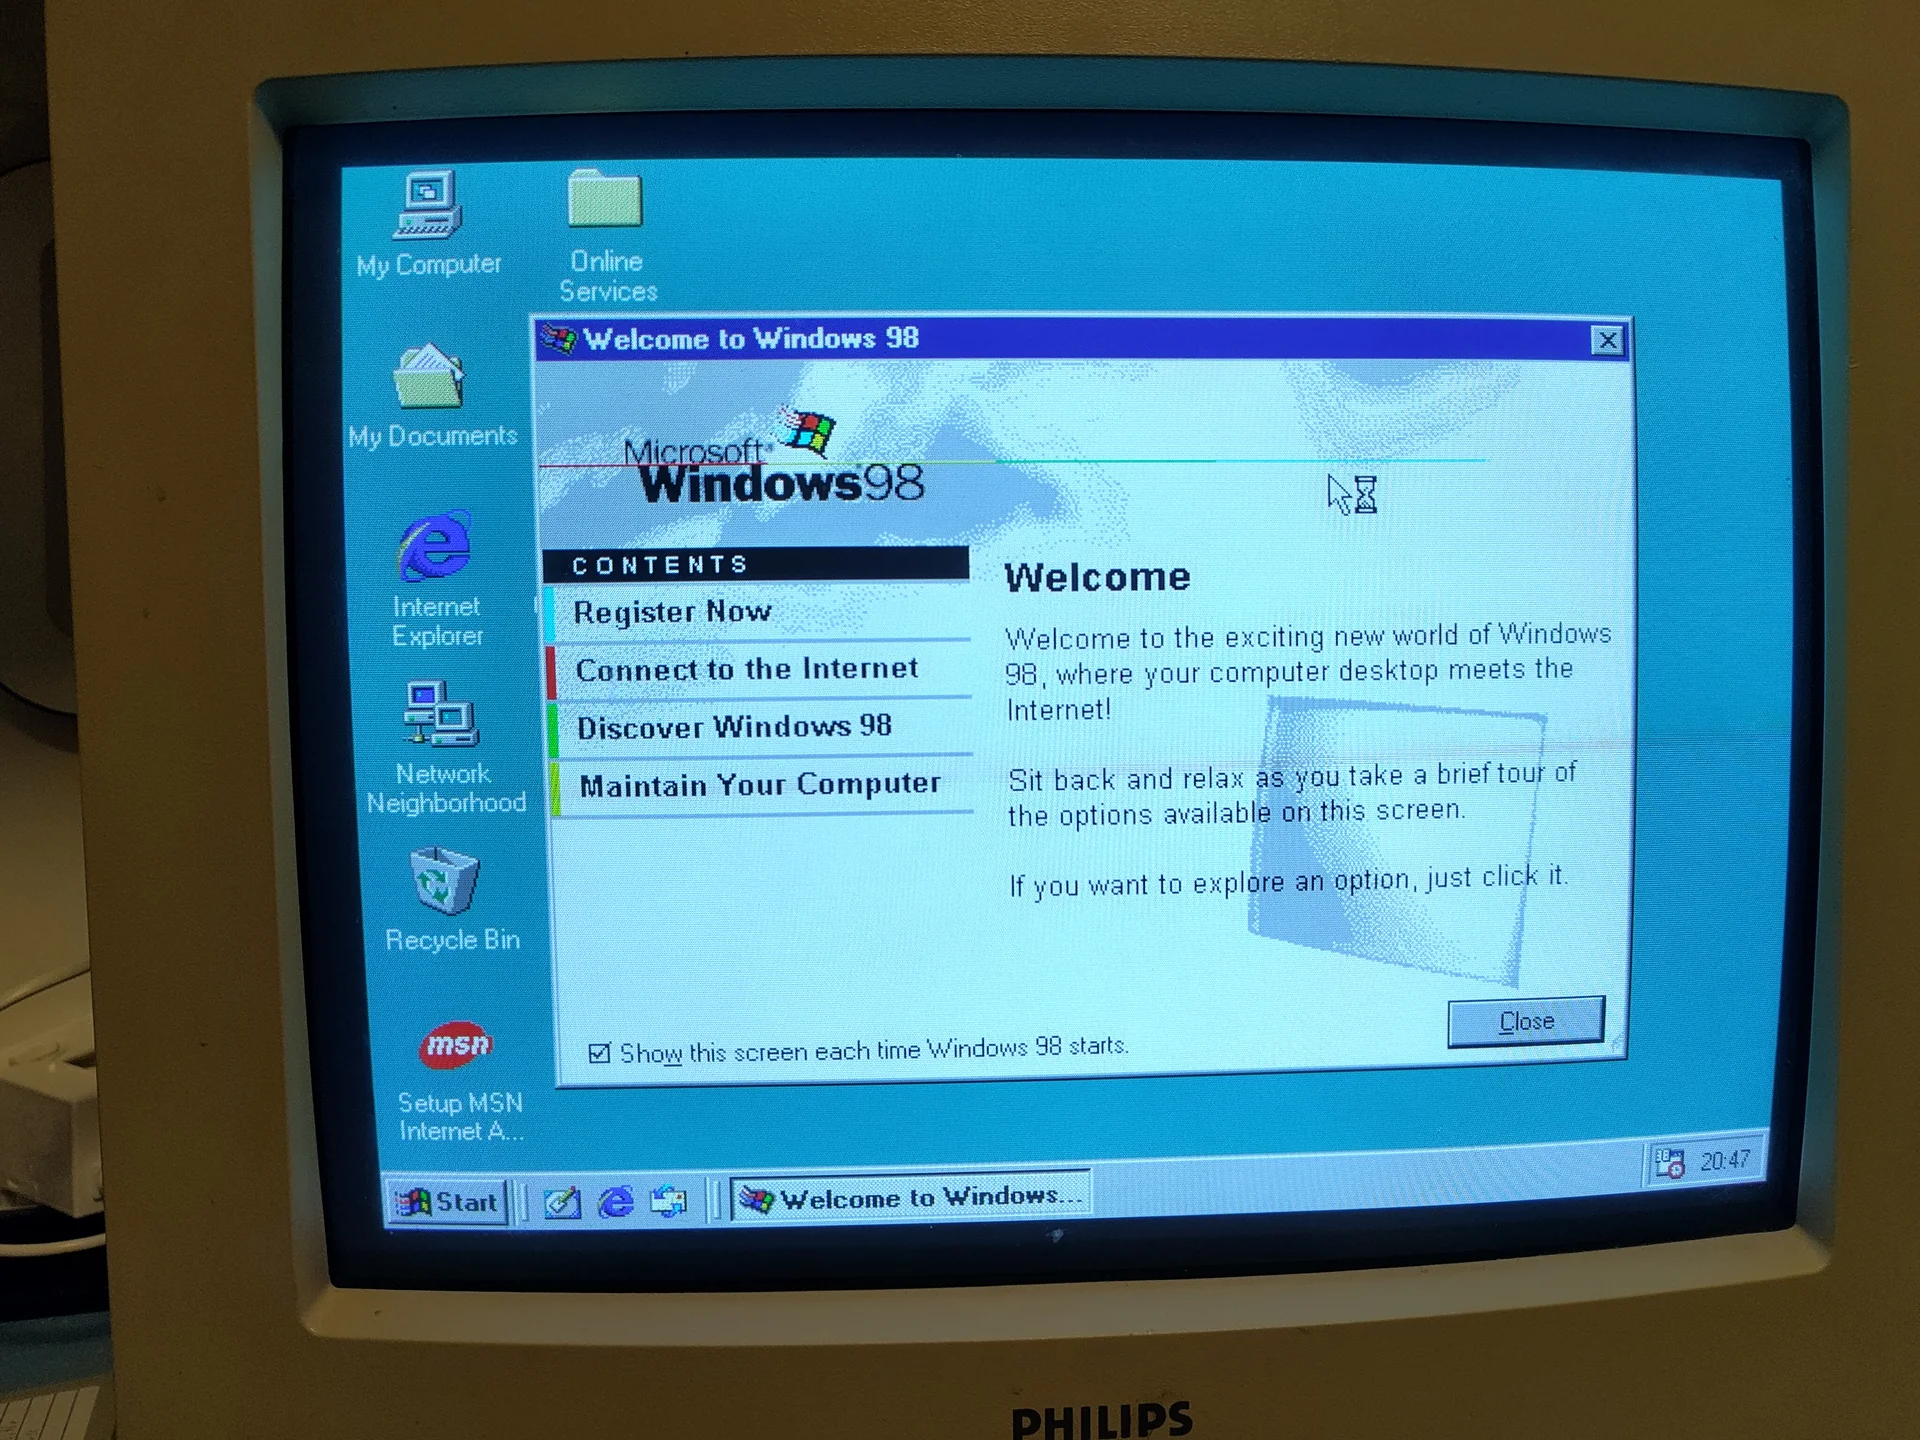
Step 6: Windows 98 Setup
The Windows 98 setup has an easy-to-understand wizard. It’s perhaps advisable to use the advanced installation mode to be able to better customize the installation. When the wizard is complete, which takes about an hour for PCs with low processor performance. In my case, with an AMD Duron 1.1 GHz the setup complete in about half an hour.
Step 7: Limiting RAM
My AMD Duron has 660 megabytes of RAM. That is significantly more memory than was intended in the Windows 98 era. It was probably upgraded multiple times to be able to run the more memory-hungry Windows XP. Windows 98 can process a maximum of 512 megabytes of RAM. Fortunately, however, there’s a simple way to fix errors that can occur when there’s too much memory.
-
Click Start and type System.ini in the Run dialog box.
-
Scroll down until you see the entry [VCACHE]. Click directly after it so the cursor jumps there, and press Enter. You are now directly below it.
-
Add the line MaxFileCache=524288 (without the quotation marks). Save and close the file. After restarting your computer, the error will be resolved.
If this configuration is not performed, then there’s a risk that blue screens can occur in Windows 98 mode or that DOS mode cannot be started with the error that insufficient memory is available.
Step 8: Installing Drivers
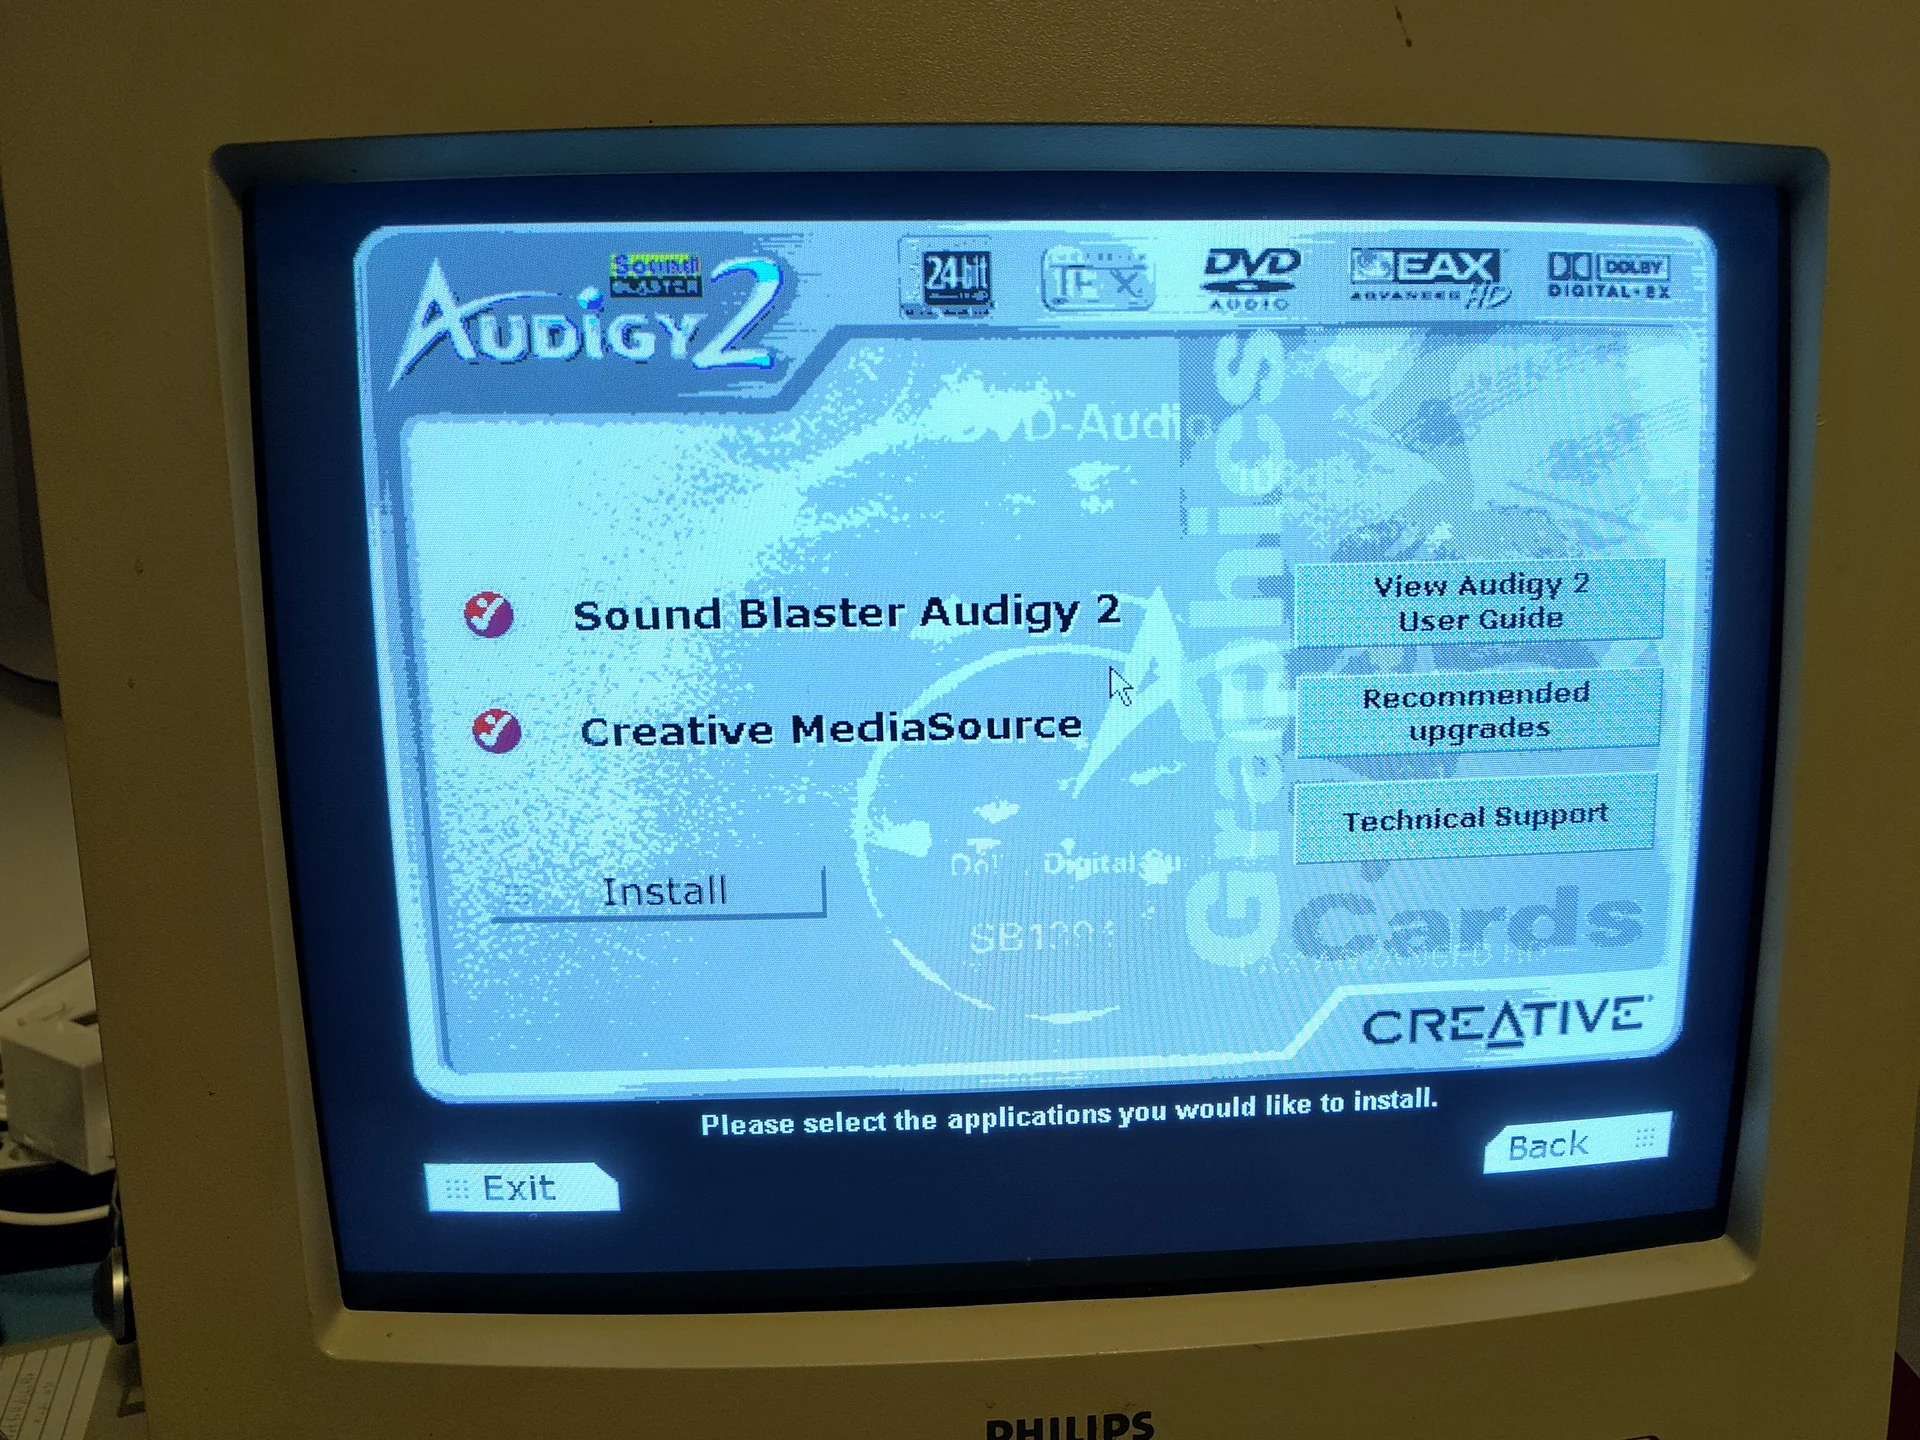
Unfortunately, Windows 98 wasn’t yet as user-friendly as later Windows versions where all devices worked automatically via plug and play. I was lucky that the original driver CDs for the soundcard and graphicscard were kept with the PC. Otherwise, it would probably have taken some effort to collect the drivers online, if that would have been possible at all. For the USB ports drivers I haven’t been lucky yet.
Why Windows 98 Anyway?
Naturally, it would have also been theoretically possible to install Windows 2000, Windows ME, or Windows XP. Nevertheless, I decided on Windows 98 because it’s probably the most suitable operating system for the era of games that I found interesting, namely the 90s and early 2000s.
It has a native MS-DOS mode that was abolished with later Windows based on NT technology. Already Windows 2000 no longer has native DOS, but only an MS-DOS emulation mode. That also applies to Windows XP. However, a native DOS mode can have advantages especially for games from the 90s, because that’s what they were ddeveloped for.
In addition, 32-bit Windows games can also be used well on Windows 98. Classics from the early 2000s run flawlessly.
And thus the retro gaming machine is complete! I hope the person who buys it will have many hours of nostalgic gaming fun.
Bonus Info:
This article was created by dictating it into my mobile phone while walking down Trattberg in the Salzburg mountains. I later used MS Word Speech to Text to convert it and added the links.