Setting Up a Dosdeck Pi: Your Ultimate Retro Gaming Hub
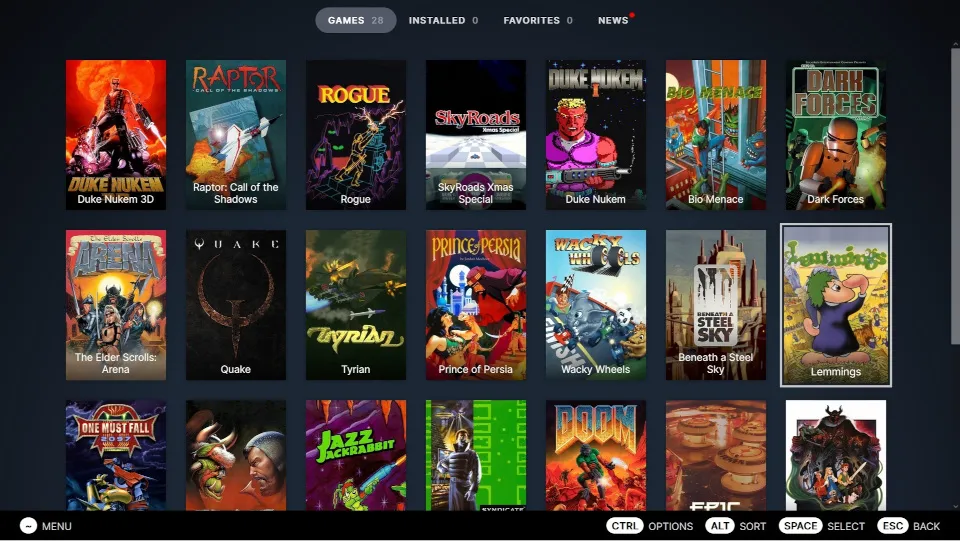
The 1990s were a golden era for DOS games, with titles that have become classics in the annals of gaming history. If you’re a fan of these retro games and have a Raspberry Pi at your disposal, then Dosdeck is your perfect companion. Dosdeck is a browser-based app with a Steam-like user interface that lets you play old DOS games effortlessly, and it even supports gamepad usage. In this guide, we’ll walk you through setting up Dosdeck on a Raspberry Pi, allowing you to seamlessly switch between your retro gaming setups, much like swapping cartridges on an old Nintendo console.
Why Use Dosdeck on a Raspberry Pi?
If you already use a Raspberry Pi for retro gaming, perhaps with Recalbox or another similar setup, you can easily expand your gaming repertoire by adding Dosdeck to your system. By setting up a new SD card specifically for Dosdeck, you can switch between your various gaming environments simply by changing the SD card in your Raspberry Pi. This setup provides flexibility and ensures you can enjoy a wide range of retro games without any hassle.
Note: For optimal performance, a newer version of the Raspberry Pi is required. This tutorial uses a Raspberry Pi 4. Older and more basic models, such as the Raspberry Pi Zero, may experience performance issues when running Dosdeck.
Step-by-Step Guide to Setting Up Dosdeck
1. Prepare Your SD Card
First, you’ll need to install the latest version of Raspberry Pi OS onto an SD card. We recommend using the 64-bit version of the Raspberry Pi OS, currently named “Bookworm”. Here’s how to do it:
- Download and Install Raspberry Pi Imager: Visit the official Raspberry Pi website to download the Raspberry Pi Imager tool.
- Select OS and Storage: Open the Imager, choose Raspberry Pi OS (64-bit), and select your SD card.
- Write the OS: Click ‘Write’ and wait for the process to complete. This will install the latest Raspberry Pi OS onto your SD card.
2. Insert the SD Card and Boot Your Raspberry Pi
Once the Raspberry Pi OS is installed, insert the SD card into your Raspberry Pi. Connect your Raspberry Pi to a power source, monitor, keyboard, and mouse. Then, boot it up and complete the initial setup process as prompted.
3. Install Firefox ESR
Dosdeck runs best on the Firefox ESR browser, as Chromium’s fullscreen mode can be buggy. To install Firefox ESR, open a terminal and enter the following command:
sudo apt-get install firefox-esr
4. Configure Firefox to Launch in Fullscreen Mode
To have Firefox start in fullscreen (kiosk) mode upon boot, you need to edit the wayfire.ini file. Here’s how:
-
Open the configuration file: In the terminal, type:
sudo nano ~/.config/wayfire.ini -
Add Autostart Entry: At the end of the file, add the following lines:
[autostart] name = /usr/bin/firefox --kiosk https://dosdeck.com -
Save and Exit: Save the file by pressing
Ctrl+O, then exit by pressingCtrl+X.
The sources for the above description of starting firefox are Raspberry Pi Forums and the Firefox Command Line Options.
5. Reboot Your Raspberry Pi
To apply these changes, reboot your Raspberry Pi by typing:
reboot
6. Shutting Down and Exiting Kiosk Mode
- Shutdown: If you need to shut down the system, press
Ctrl+Alt+Deland select “Shutdown”. - Exit Kiosk Mode: To return to the normal desktop GUI, press
Ctrl+Alt+F4, log in with your credentials, and typestartx.
Conclusion
With Dosdeck set up on your Raspberry Pi, you can now relive the glory days of 90s DOS gaming with ease. The simple SD card swap method makes it incredibly convenient to switch between different gaming environments, ensuring your Raspberry Pi remains the ultimate retro gaming hub. Happy gaming!