Renovating a garden shed: A field report
A note of caution first: I am not an expert at construction work. This article is intended as a reference for others attempting a similar DIY project.
Over the summer, we have renovated a garden shed and erected it in our garden. A friend of mine offered to give me his old shed for free because he planned on redecorating his garden. This seemed like an ideal occasion for a renovation job, because we badly wanted a shed to store our gardening gear in.
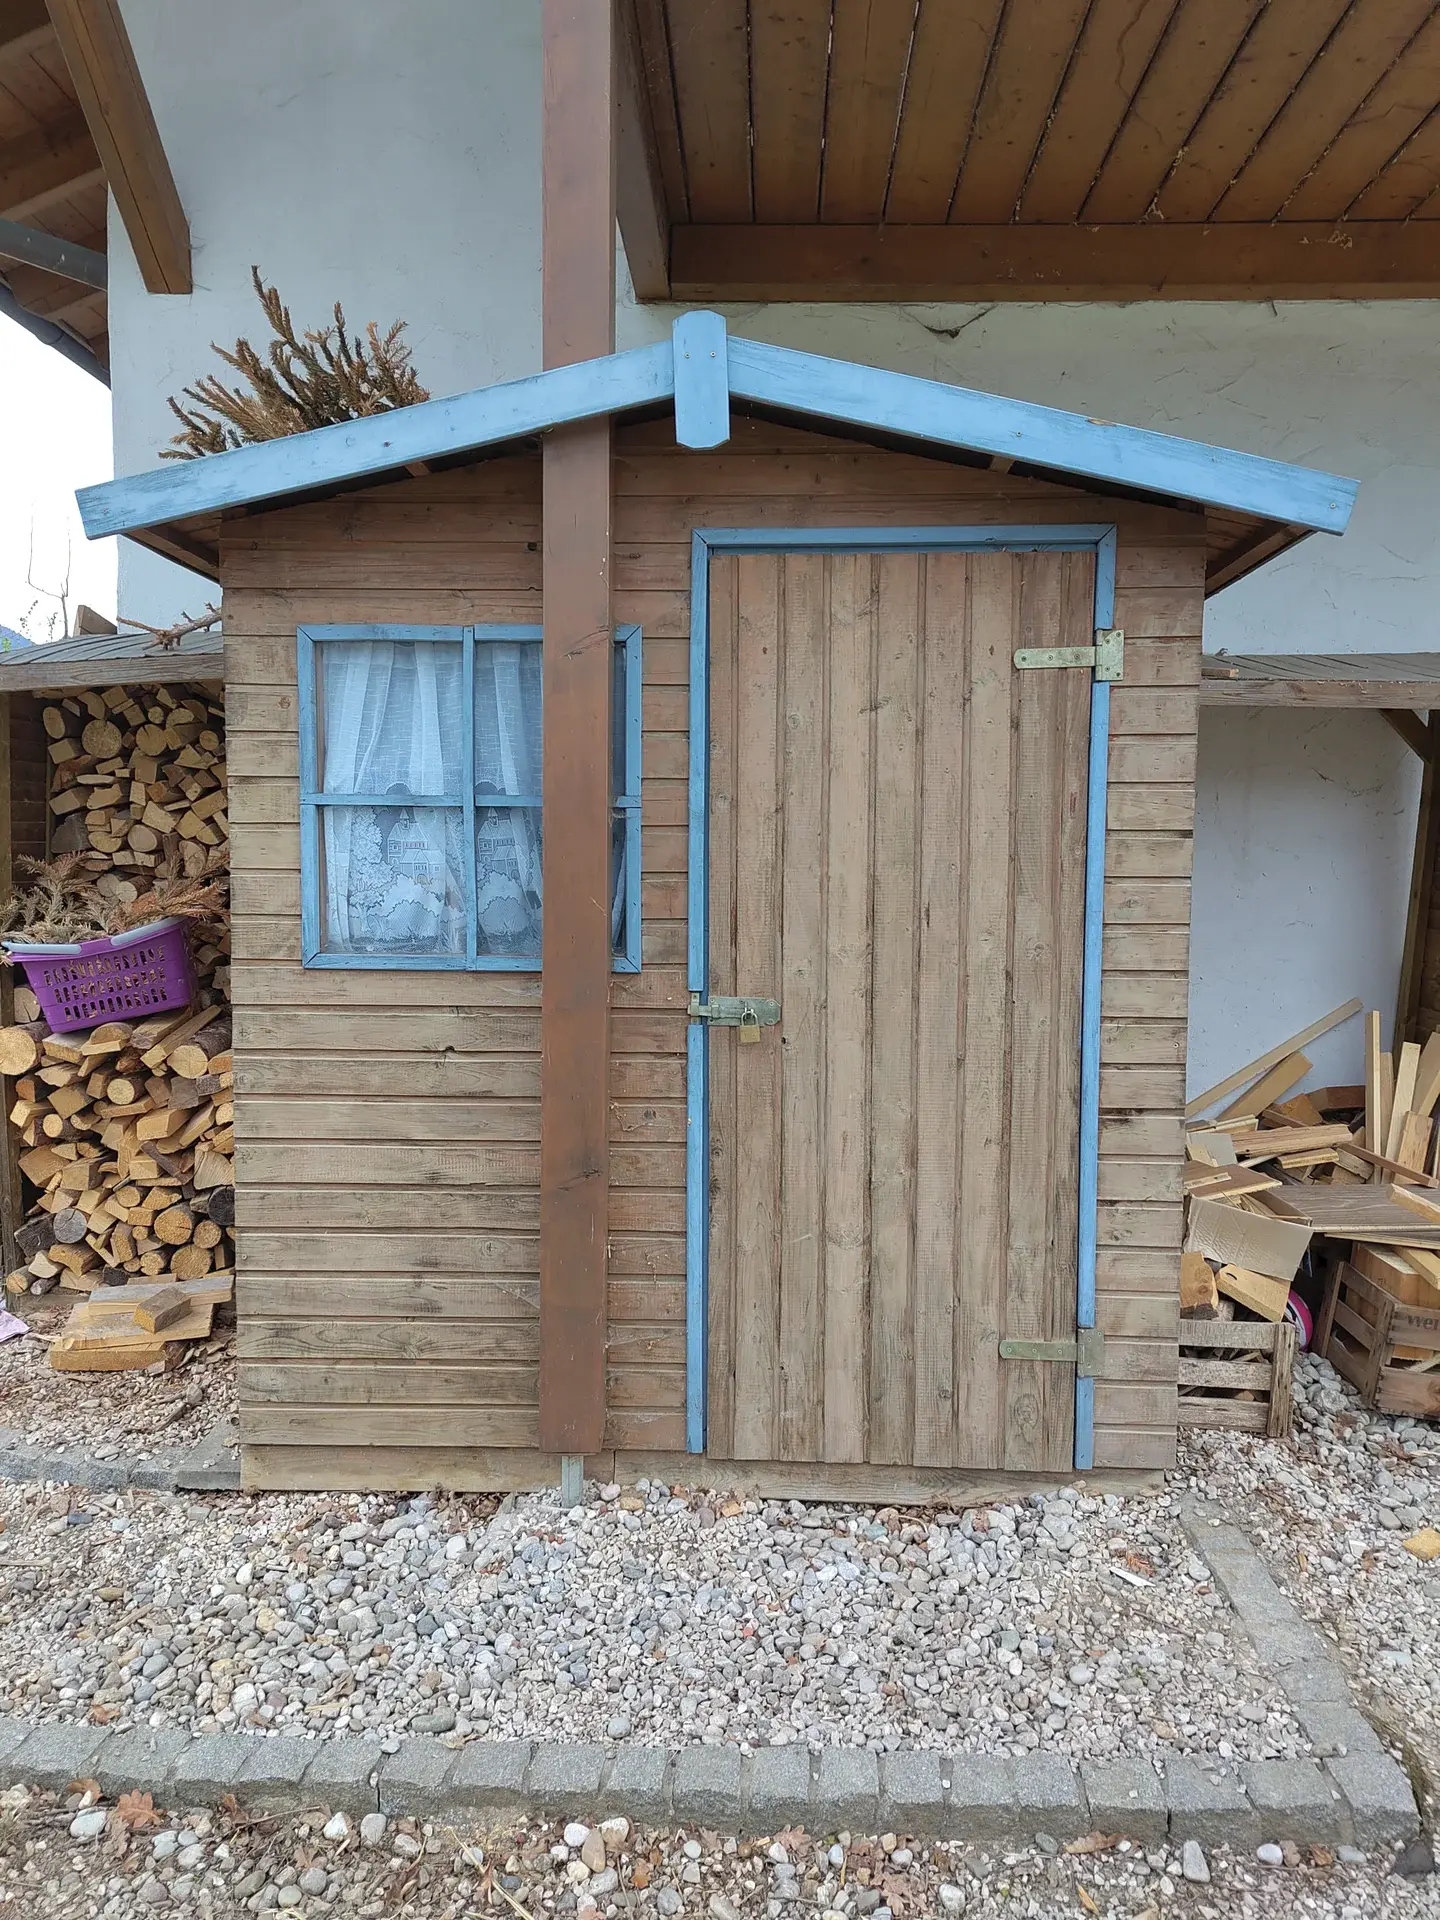
The garden shed is 1.80 m × 1.40 m × 2.20 m (length × width × height). It was in rather good condition, because in my friend’s garden it had stood underneath a roof and a balcony. Both had shielded it from rain.
Disassembly
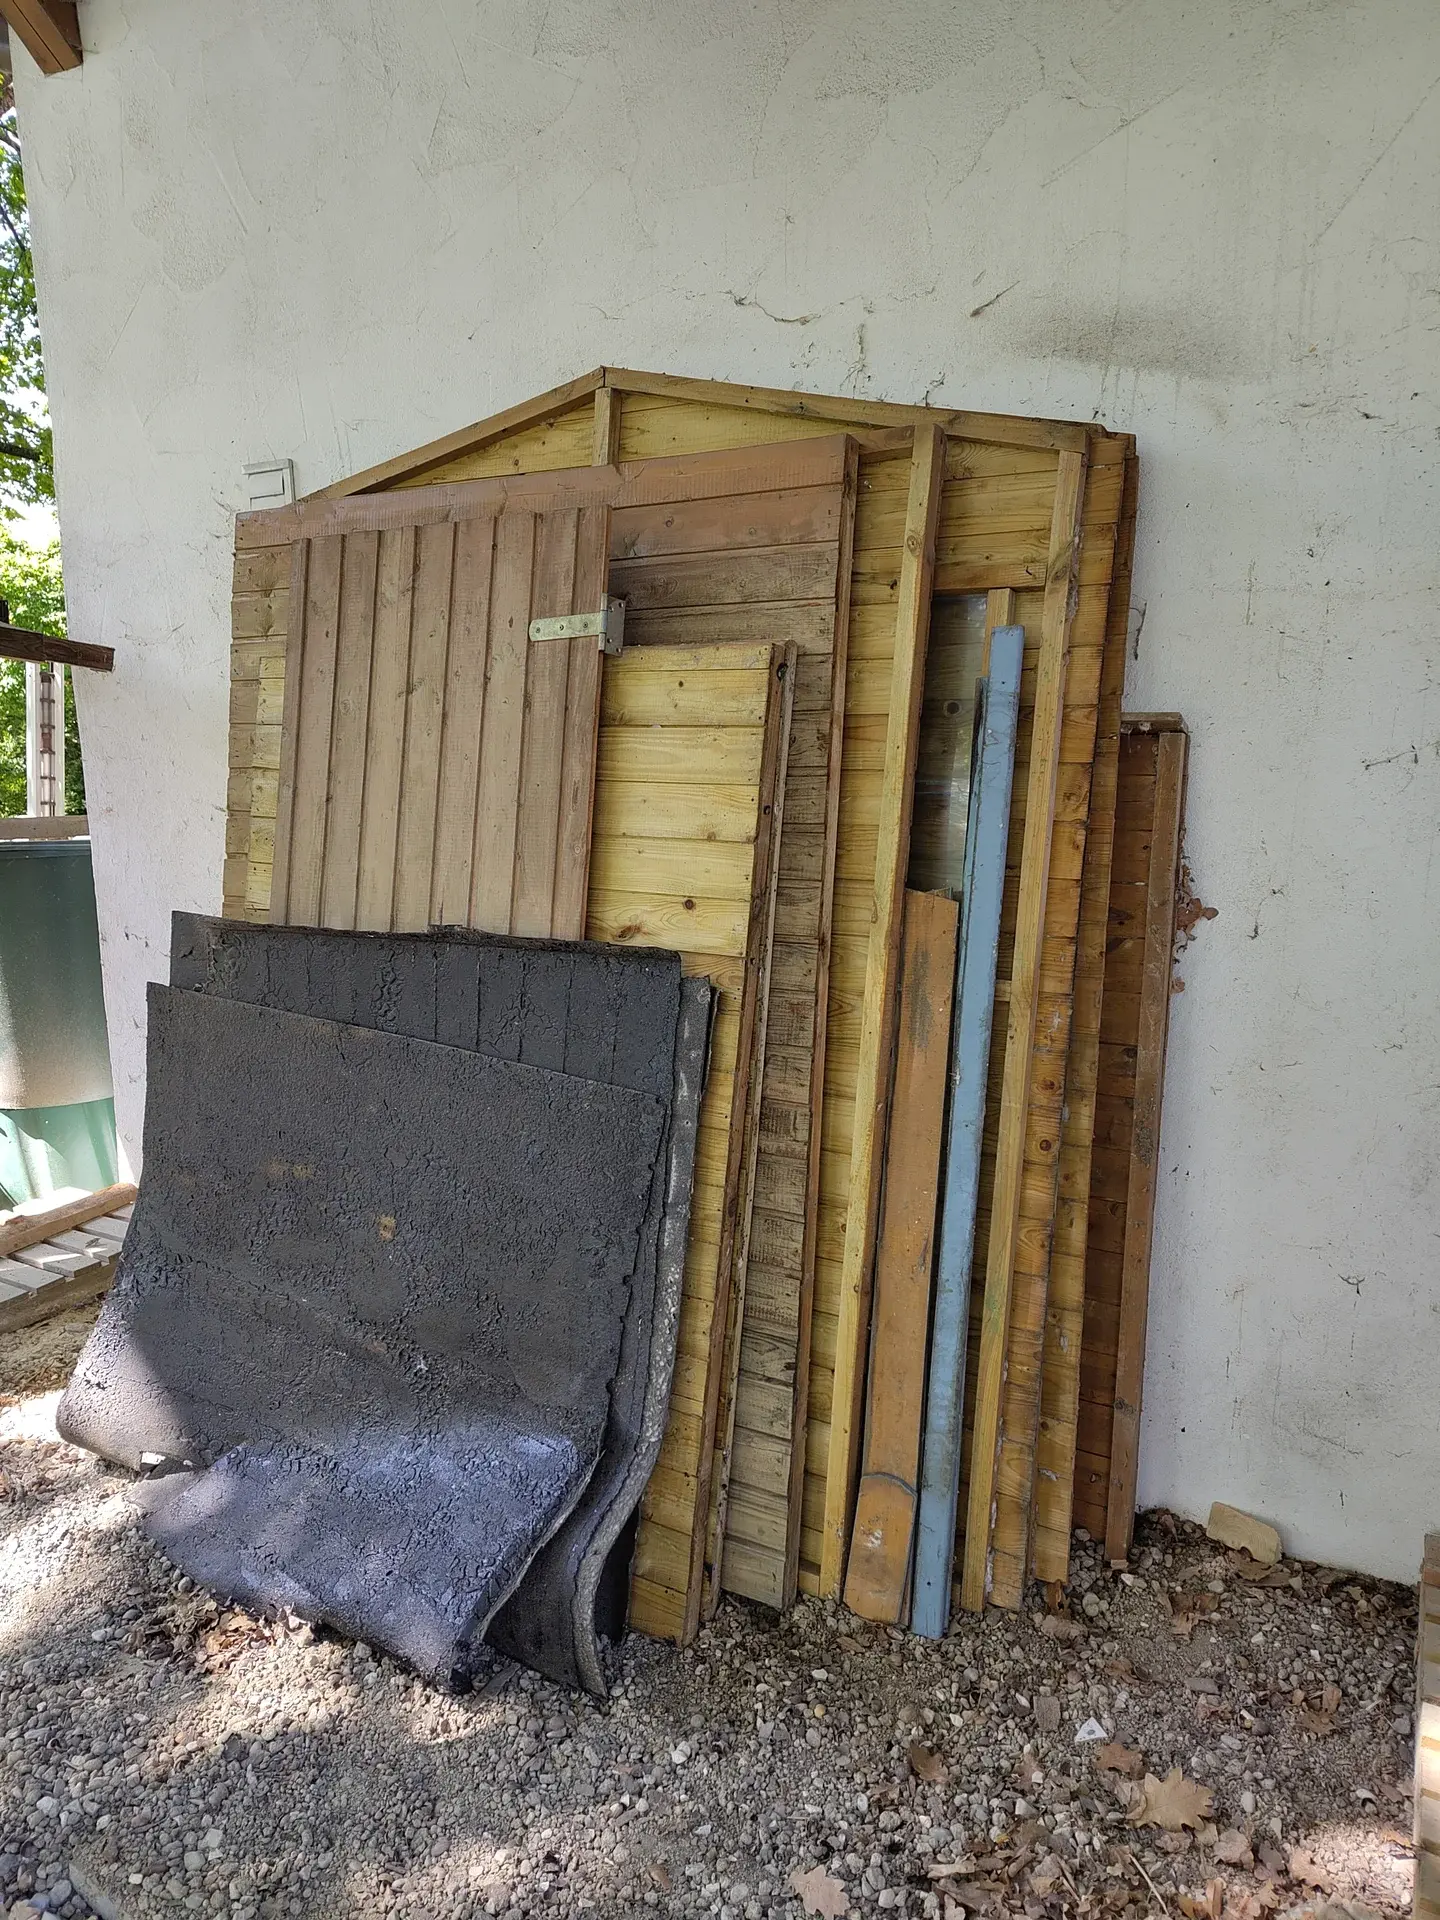
The first step of the renovation was disassembling the shed. We were two people disassembling and it took us about 2 hours. The job was surprisingly easy. We just removed all screws and nails and stored them safely in bags. The roofing felt also had to come off, because we would not have been able to access the screws below it otherwise. A ladder would have made our job a lot easier. We stored the parts for transportation leaned against the wall of my friend’s house.
Transportation
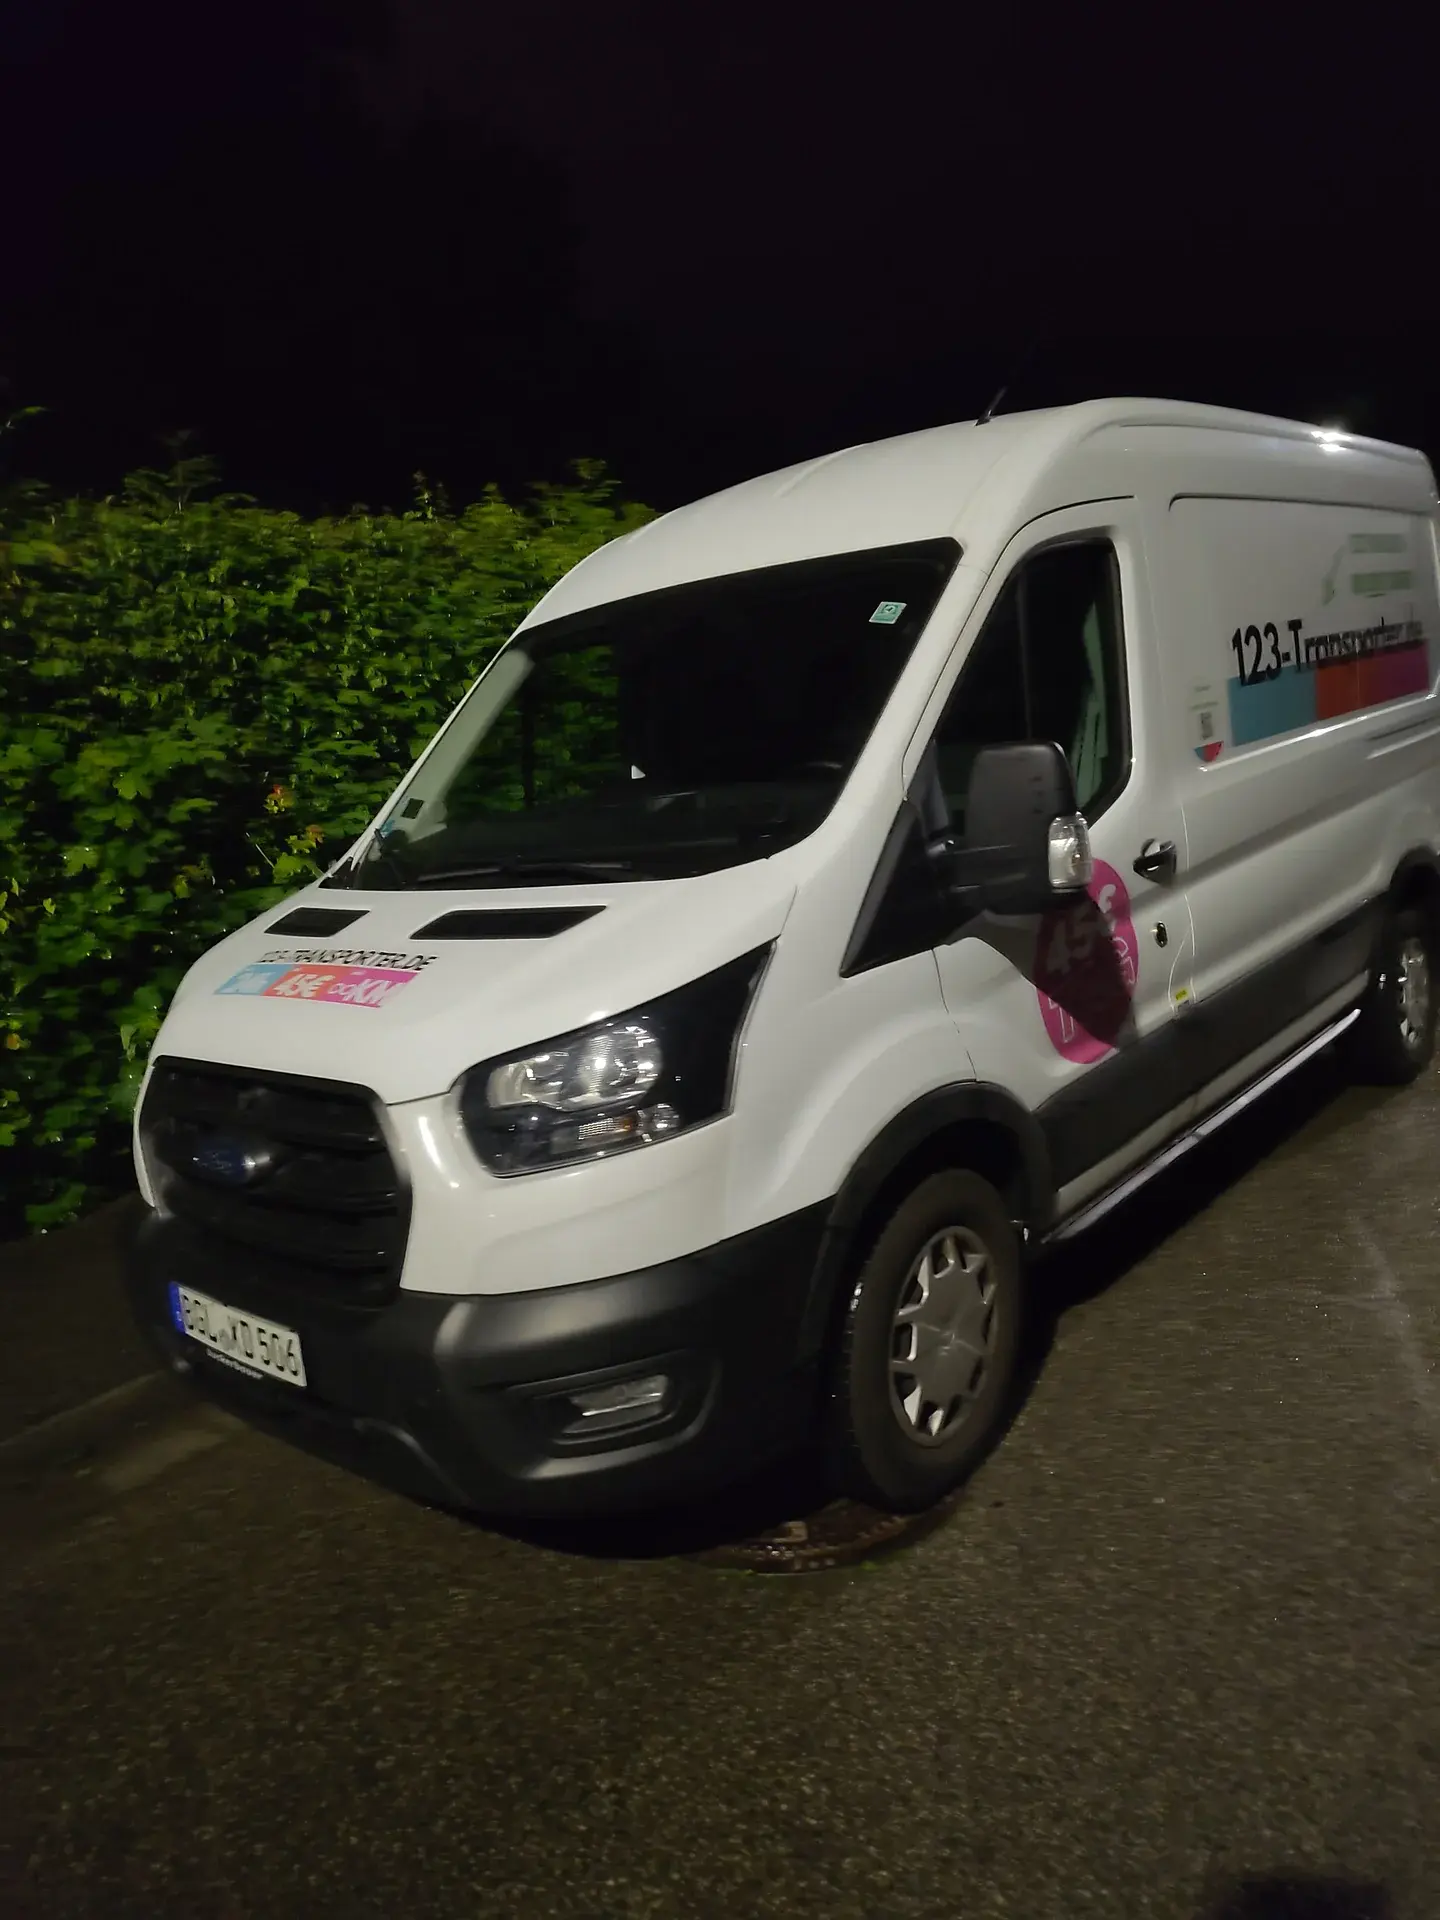
Transporting the parts to our home was surprisingly difficult. Since the largest parts are 2.20 m × 1.80 m, it was not possible to use our car for transportation. I had to book a van for that.
My first attempt at booking a van failed. I planned to use the van in the evening of a work day, since vans are cheaper during the week. So I booked the van at noon on the homepage of Sixt car rental service for pickup in the evening at the Freilassing branch. This turned out to be a mistake. The order went through on the homepage but 15 minutes before pickup I got an email stating that my order had been rescheduled to the next day. I could not even cancel it, because cancellation was not possible half a day in advance. After an unfruitful phone call I wrote an email stating that I wanted my money back, which eventually worked.
My second attempt was successful. This time I used 13Transporter.de, which provides a fully automated service. For a Ford Transit I paid 62 Euros. This would have been 20 Euros cheaper if I didn’t have to cross the border over into Austria for 2 km. The whole pickup process was based on an app that I needed to download. I had to take about 10 pictures when picking up and when returning the van, which was quite tedious. I understand why an automated pickup and return system can only work this way, but the extra effort is time consuming. I prefer having a human hand me over the car.
For moving the parts from the van to our storage, a hand truck was very… well… handy. This way a single person could move large parts where otherwise two would have been necessary.
Foundation
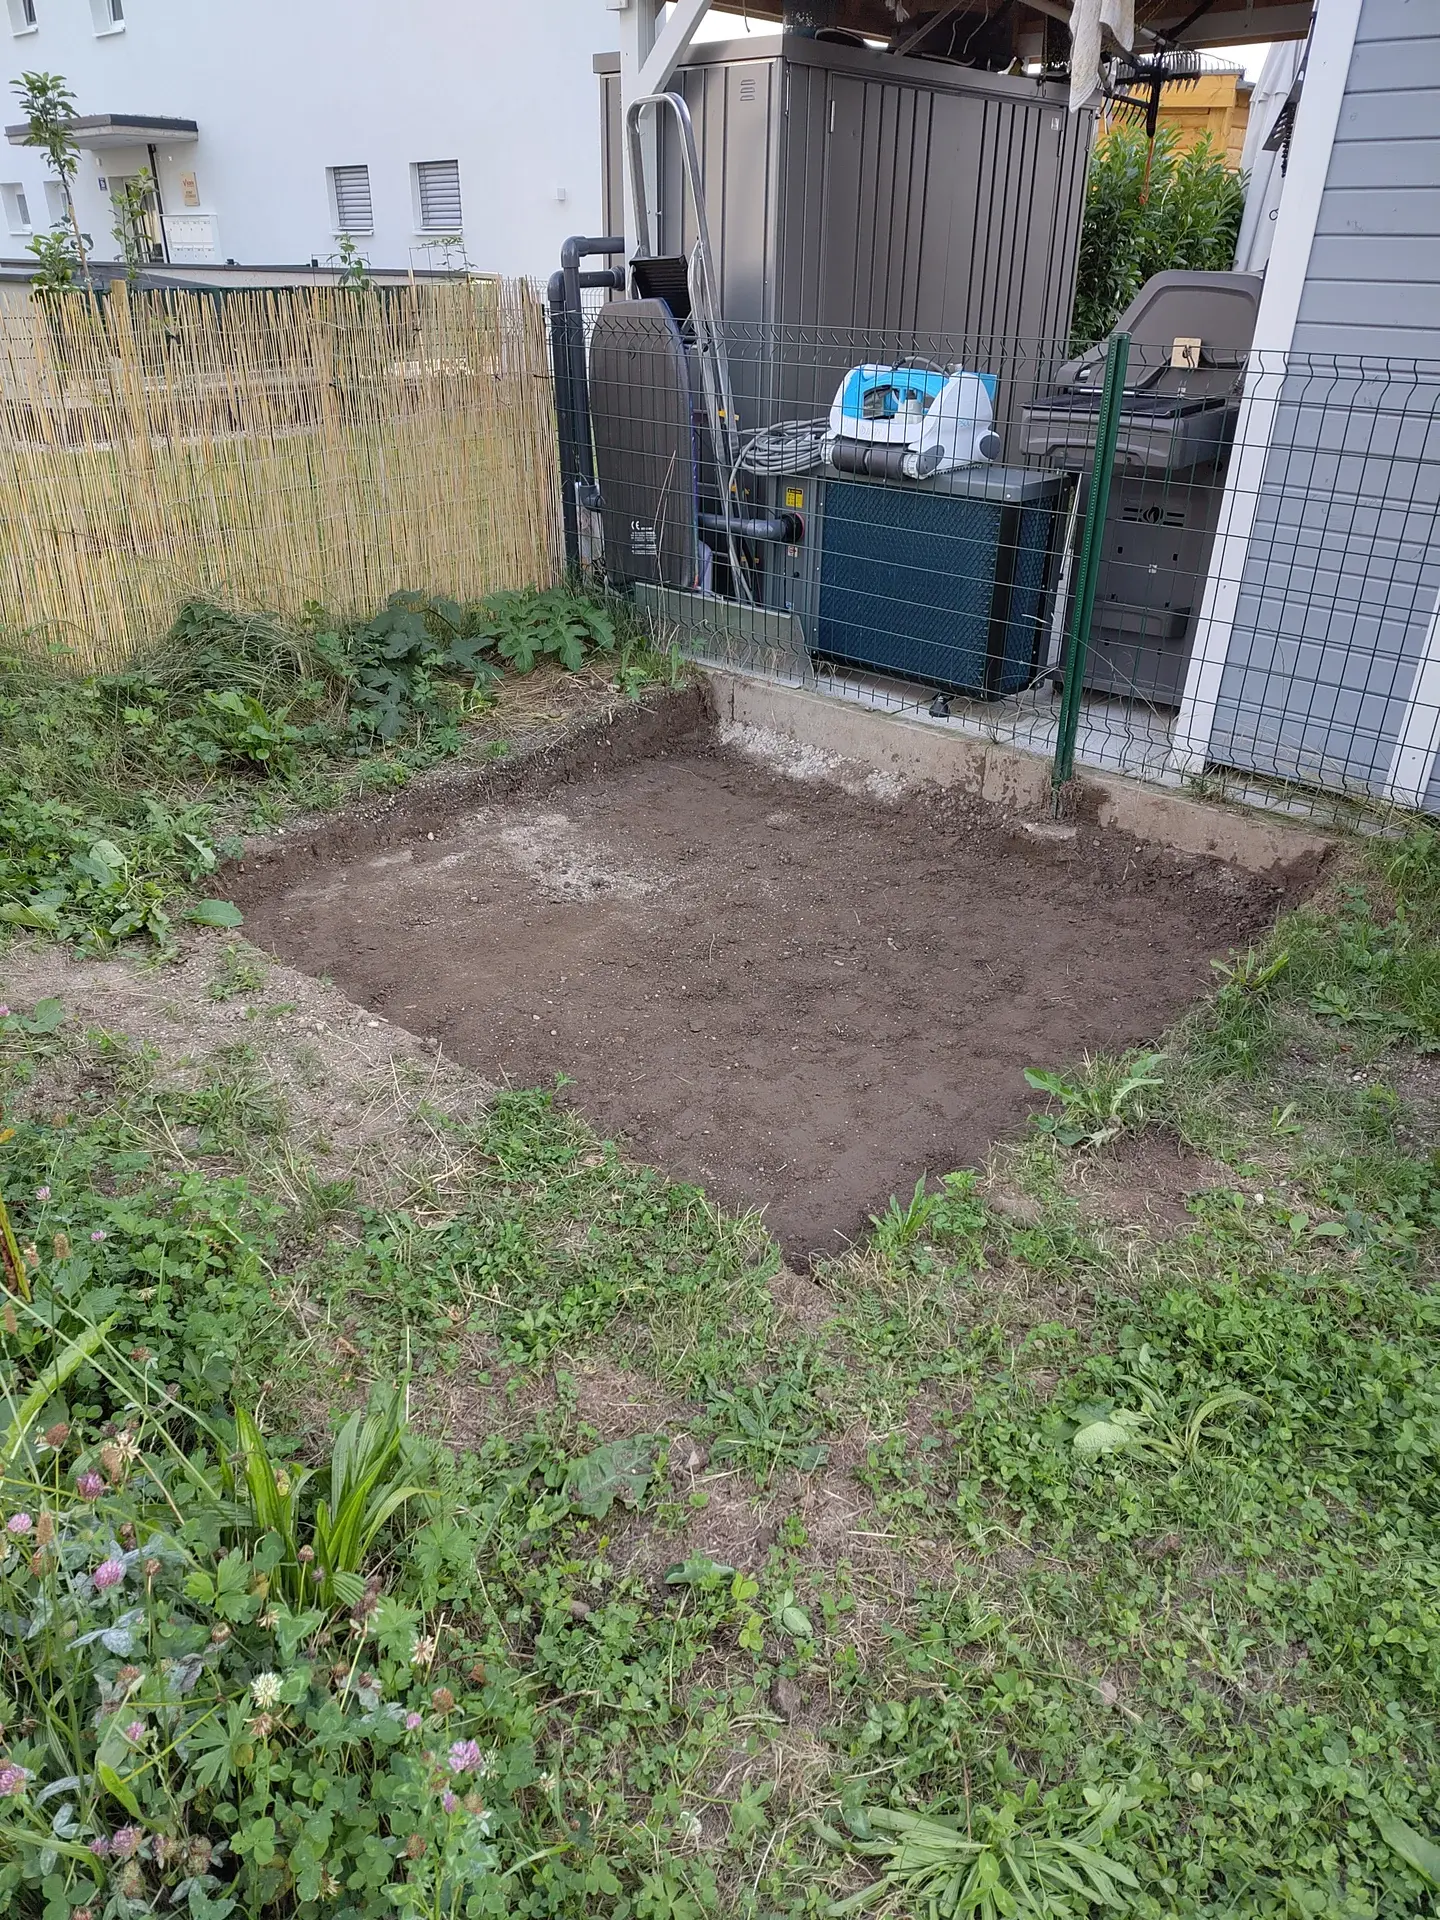
Since we wanted the foundation for our shed to be easily removable, we opted for a basic solution. I had researched online and asked around in my family. Based on that information we decided to just have a simple gravel foundation to keep the wood at the bottom of the shed dry by improving rainwater drainage. This was especially important because the rainwater from our neighbour’s shed drips down directly next to ours.
I dug a pit 15 cm deep, 2.20 m long and 1.80 m wide. This left 20 cm of space between the lawn and the wall of our shed. That seemed enough to protect from the moisture. That took me about 8 hours. I could have done it quicker but in the process I prepared the earth for being reused in our garden beds, which meant removing roots and stones. I stored about 400 litres of earth in three garden bags we bought at our local hardware store.

We then filled the pit with gravel. Fortunately, there is a gravel quarry quite close to where we live. My father owns a small trailer about 1.40 m × 1.80 m big. We had it filled twice with stone chips at the quarry, then drove back to our home and moved the gravel with shovels into a barrow and emptied that into the pit. The whole process took two people about 3 hours and the gravel cost 30 Euros – a lot cheaper than buying it in bags at a local hardware store in Austria or Germany.

Sanding and painting
My girlfriend and I now started with the actual renovation. Over three sunny afternoons, I sanded down the old colour from the shed parts and she painted it. We had two delta sanders available but the process was rather tedious. It took several strokes to remove the paint layer completely. Next time, an angle grinder might be a better alternative to remove the paint more quickly. I also used a lot of sheets of 60 and 80 sanding paper. Overall, I spent about 20 Euros on that. I sanded on a plastic canvas in our garden. This was a good idea, because I could remove the saw dust very easily. But it was also a bad idea, because I left it outside over several days which damaged the grass underneath the canvas. It just did not get enough light. Meanwhile, the grass has recovered, fortunately.
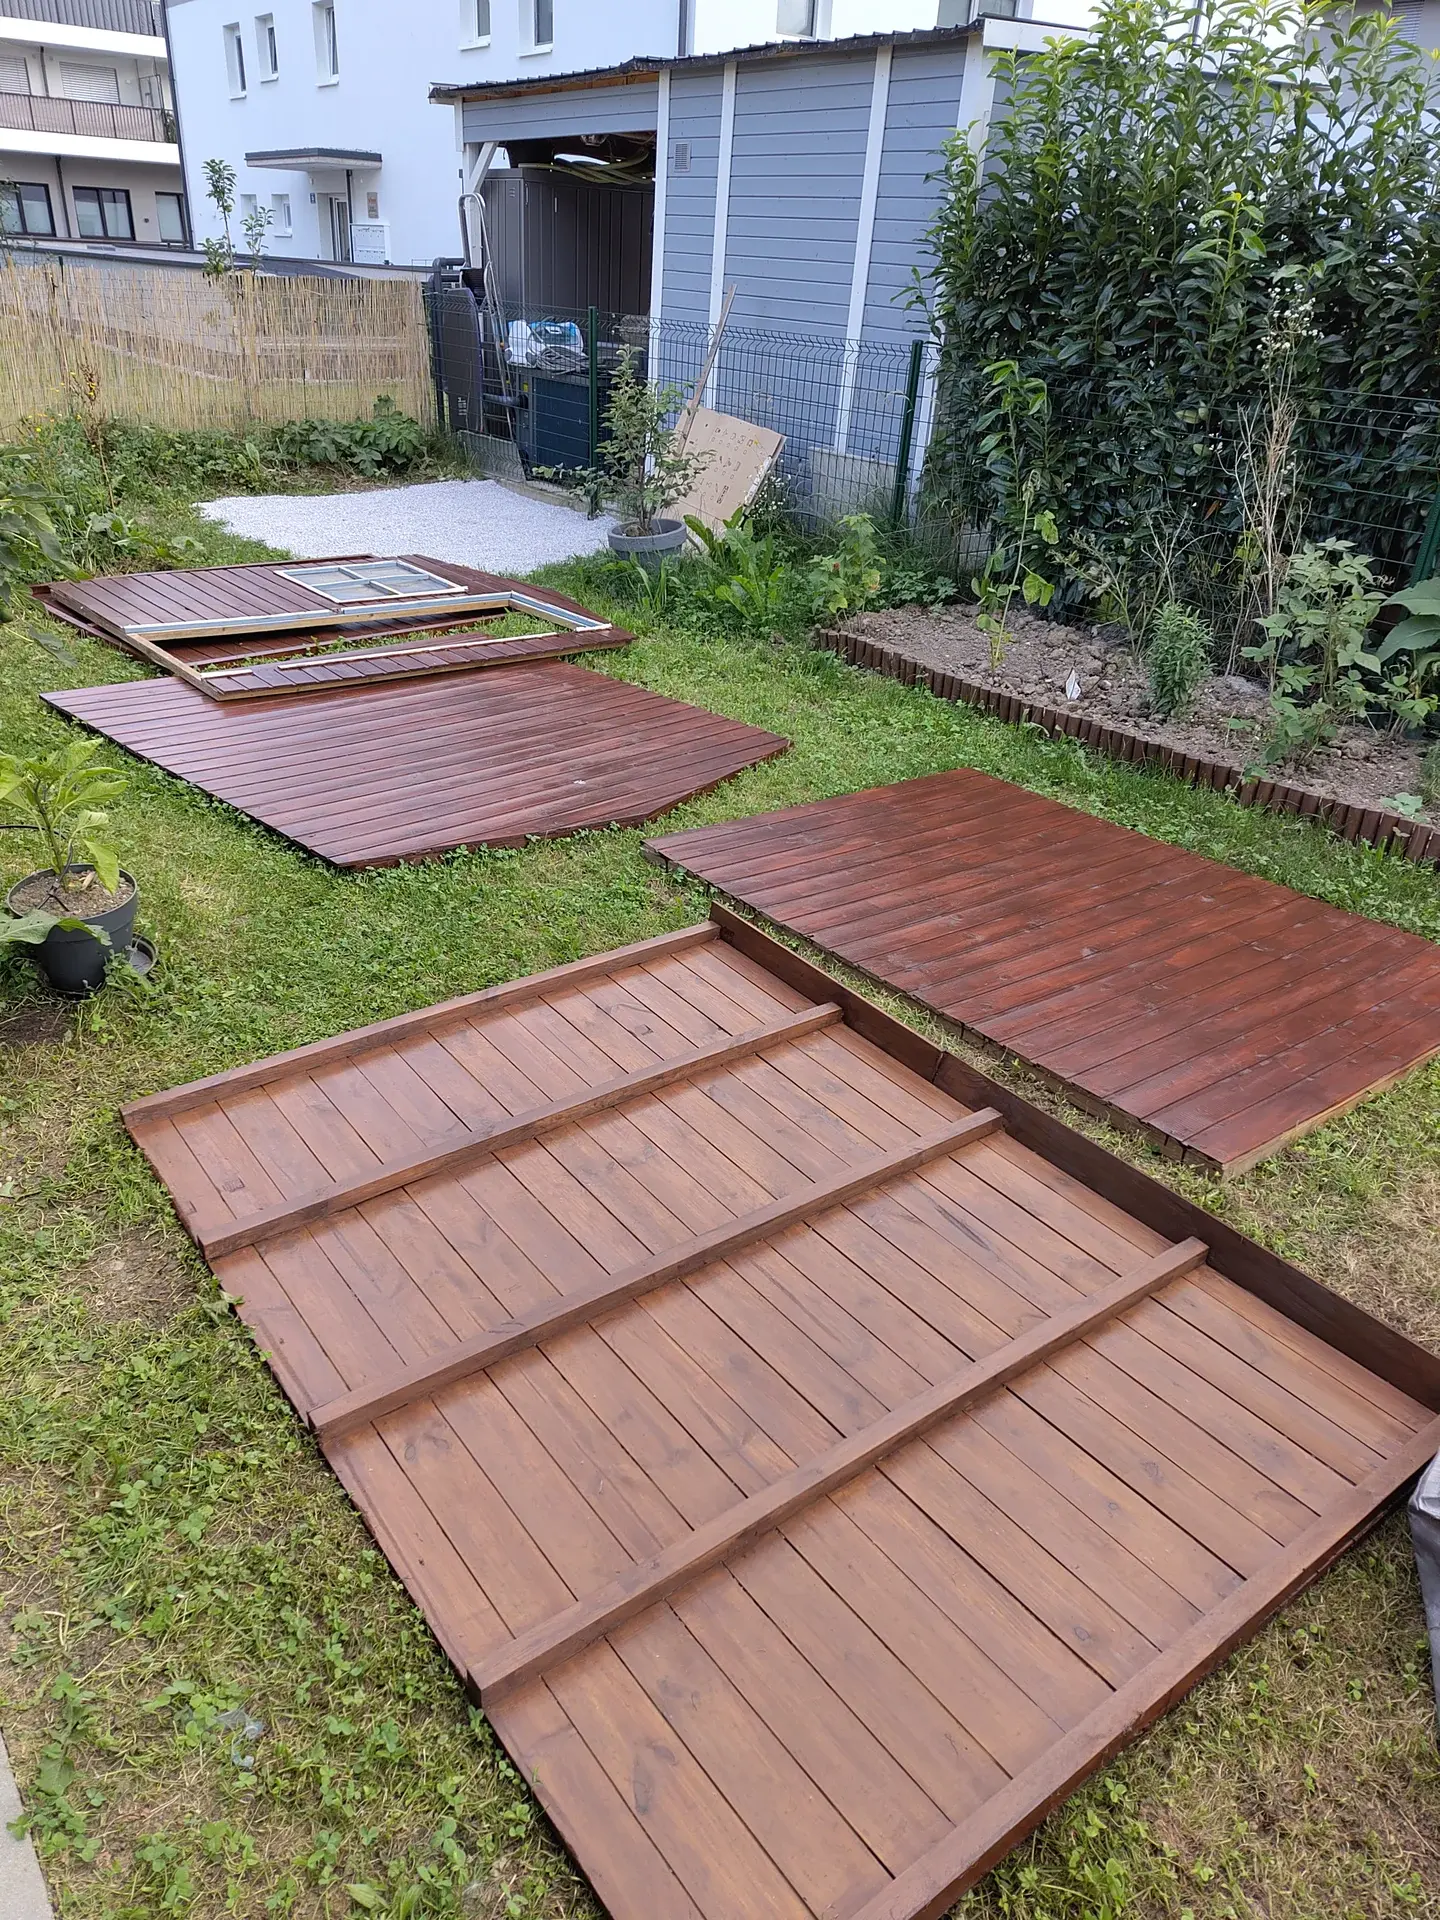
My girlfriend painted the newly sanded parts. They were left to dry in our garden. It might be advisable to also use some old tarp to lay them on. We did not have any available which meant that the grass touched the fresh paint in some places and left imprints. Fortunately, this only happened in places which are not visible anymore after we erected the shed. For the colour, we opted for chestnut paint for the walls and white for the frames. I think we spent about 120 Euros on paint. We only painted the outside of the shed and used a transparent glaze for the inside.
Reassembly
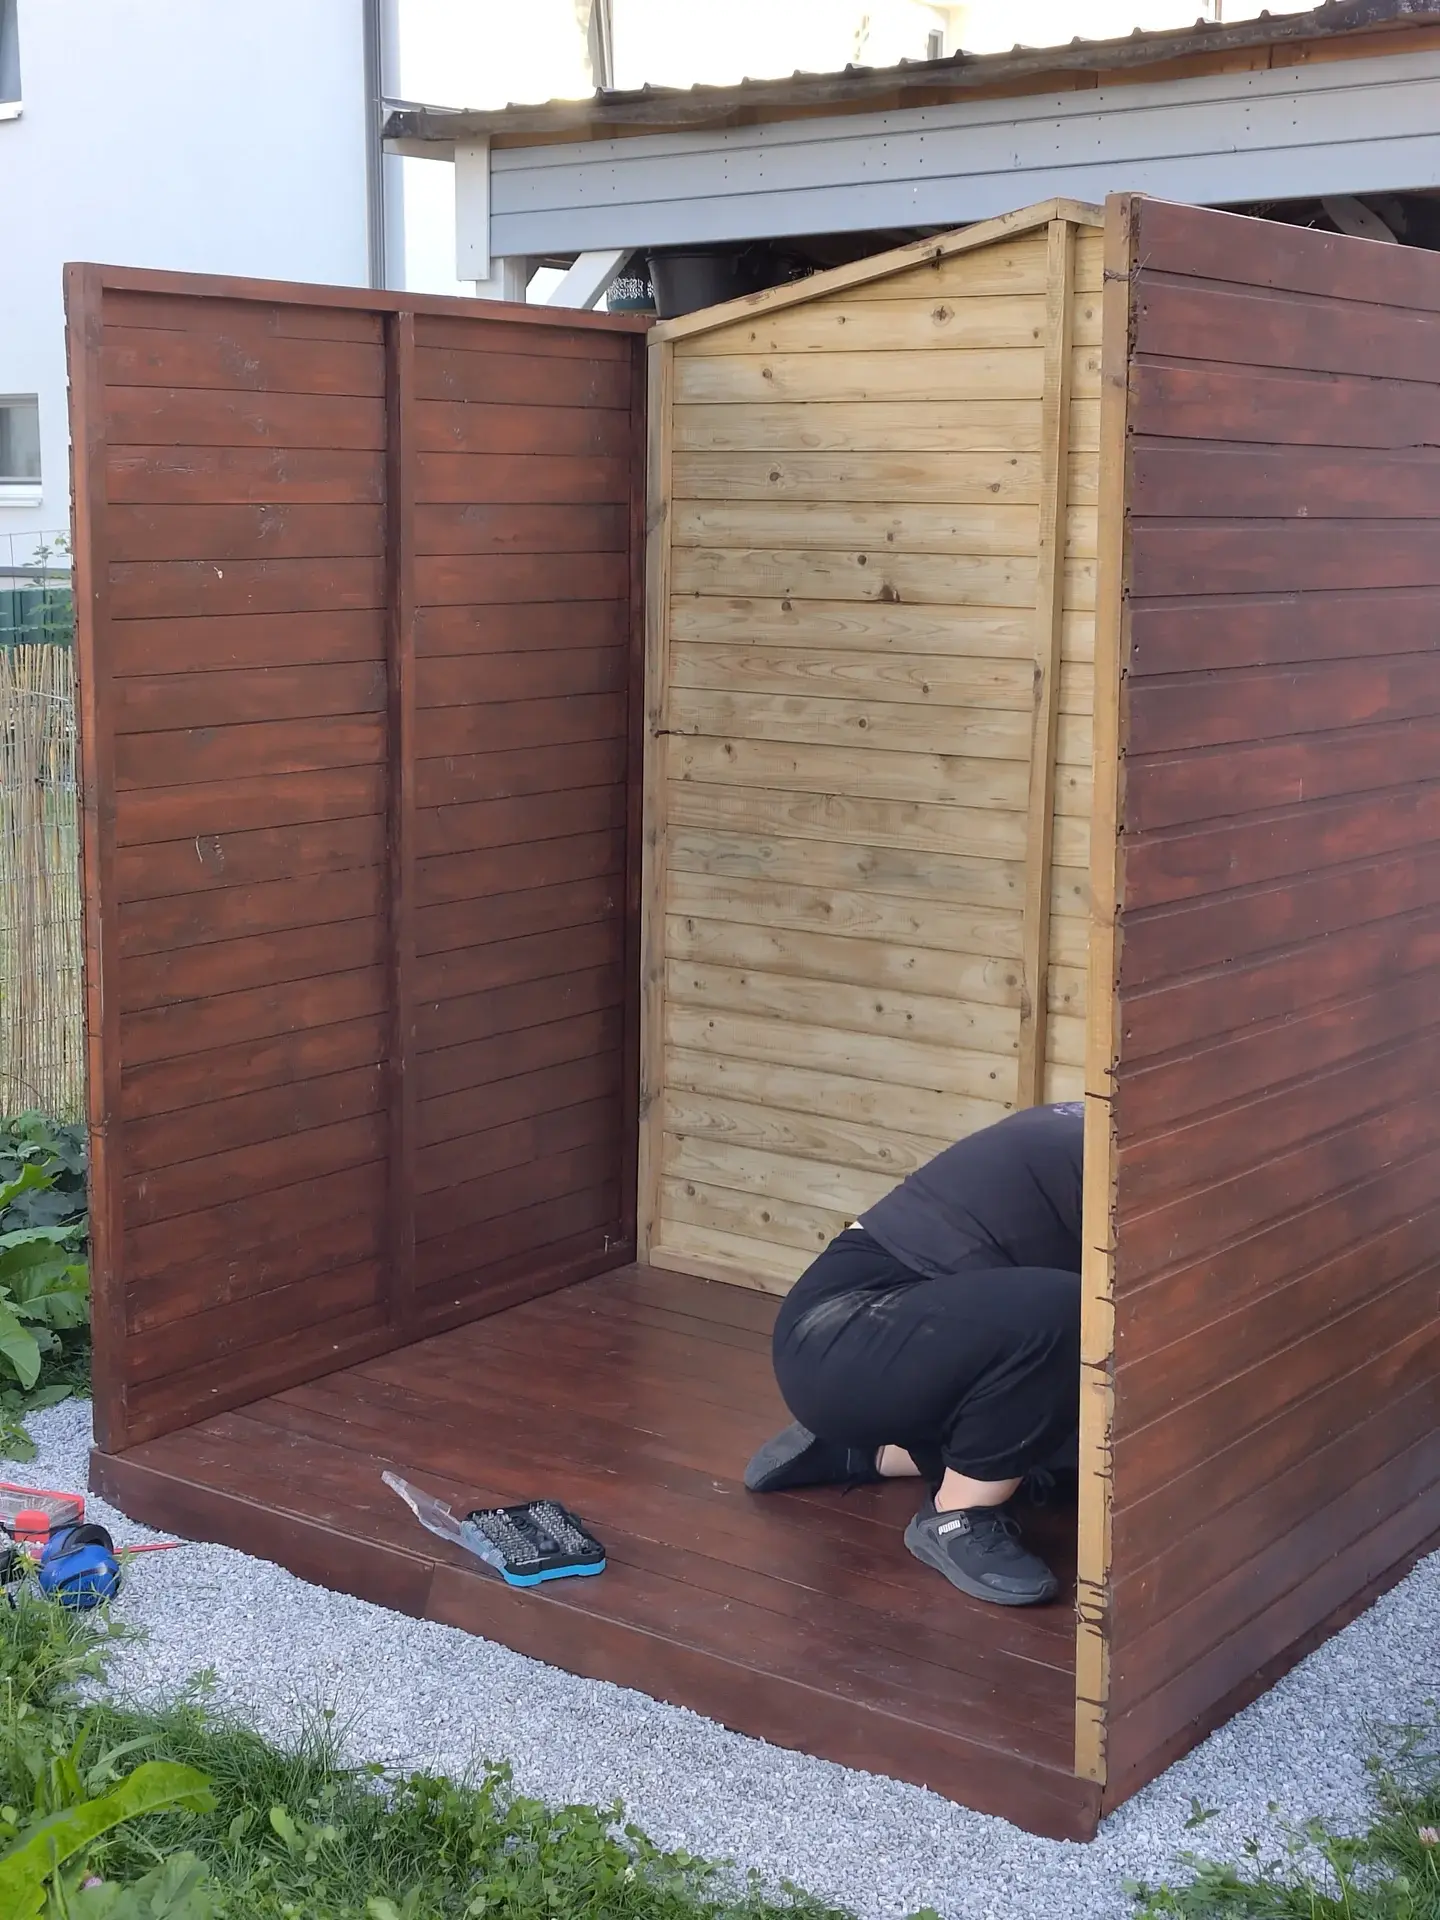
When the paint was dry, we were ready to put up the shed again. We started with the floor, screwing the walls to it one after another. The whole process only took about 2 hours with two people. We did not put on the roof the same day. The weather was supposed to stay sunny for a couple of days, so we could afford that.
I finally added the roof and self-sticking roofing felt one of the following days after work which took about 2 hours. The roofing felt cost about 60 Euros for our 4 m² roof.

Rain pipe
To collect water for our plants, we decided to add rain pipes to the garden shed. We added two gutters below the eaves, connected their drains with an additional pipe and collected all of the water in a barrel. First, I planned to use a 45 degree angle piece to make sure there was enough slope for the water. But the resulting angle was so steep that the connecting pipe would have reached the ground too quickly to spill its water into the barrel. I therefore changed plans and used an 87 degree angle and t-piece. This worked well.
Another problem was the 18 degree angle of the roof: If I mounted the eaves gutters directly to the roof, they were also angled at 18 degrees. Therefore the pipes from their drains did not point straight to the ground but were angled by 72 degrees. I had to cut 18 degree wedges from a wooden plank with my Kataba and screw them to the roof below the eaves. Now I could mount the gutters in parallel with the ground and the downpipe at 90 degrees to the ground. I checked the placement of the gutters by pouring water on the roof with a watering can. I spent about 100 Euros on rain pipes and the whole setup took a lot of tinkering and 8 hours in total, but I am now very pleased with the result.
Additional rain proofing
We closely watched the inside of our shed and noticed that water seemed to leak in through the crack between wall and floor on the backside. It soaked into the wood, discolouring it. To fix this, I bought an additional roll of roofing felt – this time the non-sticky variety – and used a tacker to fix it to the back wall. I dug up the gravel on the backside so the felt reaches into the ground. The whole job took an additional 2 hours, shopping time not included. Now the problem seems fixed.
More plans
My girlfriend plans to add decorative painting to the shed, but this must probably wait till next year. I will keep you updated.
In Summary
This shed renovation project took approximately 50-60 hours of work over the summer and cost around 390 Euros in materials (van rental, gravel, paint, roofing felt, and rain pipes). Add two that about 5 hours spent shopping and additional costs for petrol. The main steps included disassembly (2 hours), transportation via rented van (62 Euros), digging and filling a gravel foundation (8 hours, 30 Euros), sanding and painting (three afternoons, 120 Euros), reassembly (2 hours), installing the roof (2 hours, 60 Euros), and adding a rain collection system (8 hours, 100 Euros). Additional waterproofing was needed for the back wall (2 hours).
Key lessons learned: book van rentals carefully, use an angle grinder instead of sanders for paint removal, protect grass when working outdoors, lay tarps under drying painted parts, and account for roof angles when installing gutters. Despite being more time-consuming than anticipated, this has been a very fulfilling and fun project. The shed now provides excellent storage for our gardening gear and collects rainwater for our plants.