Legacy Lego Set Reconstruction: How to turn your brick pile into nice and clean sets
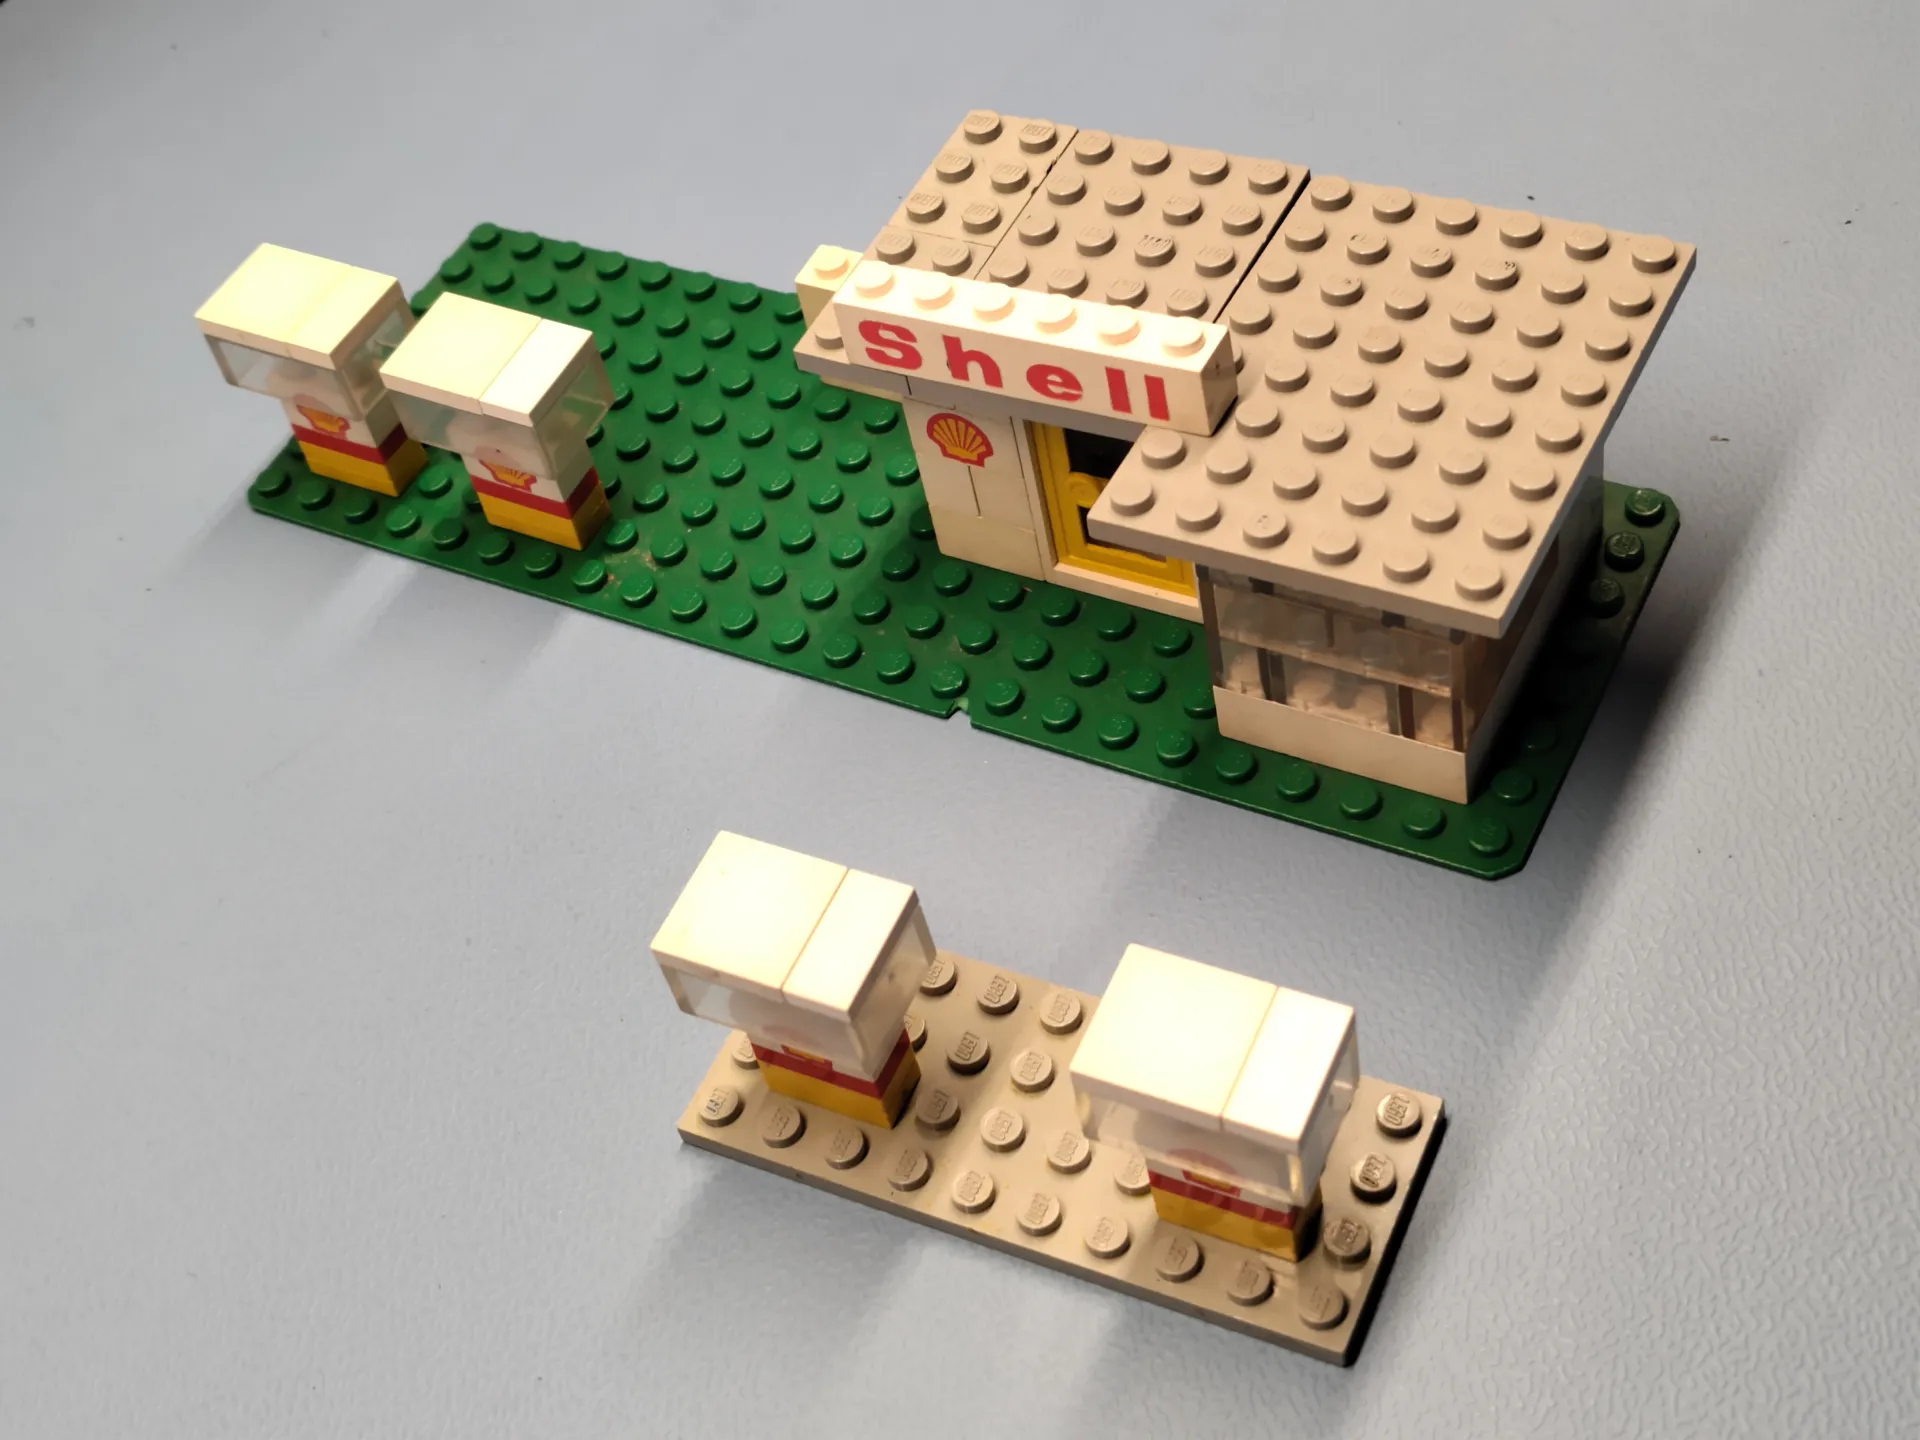
In my basement, I had about 9 kg of Lego sitting and waiting for my child. To make it more enjoyable, I decided to try and reconstruct the old sets from my childhood. That way we can give them to it bit by bit instead of just handing it the pile. That might be overwhelming and it could eventually end up playing with just a small amount of the bricks.
After a short search on Ecosia, I found out that there is comprehensive information about old Lego sets on BrickLink as well as a mobile phone app called BrickScan which lets you take pictures of your bricks to identify them. There is also a service you can send your whole collection to and they will send it back to you cleaned and sorted into sets called Sort A Brick – but you would have to spend a couple of hundred euros on a collection of my size. If you have a very large collection, you might even think about building your own sorting machine, e.g. from Lego bricks. There are a number of building instructions available online open source. After thinking things through I decided to manually sort my collection. I did not want to spend a couple of hundred euros on an activity that I considered fun. Sorting Lego promised to be a bit like solving a puzzle. My collection also isn’t big enough to justify building a sorting machine.
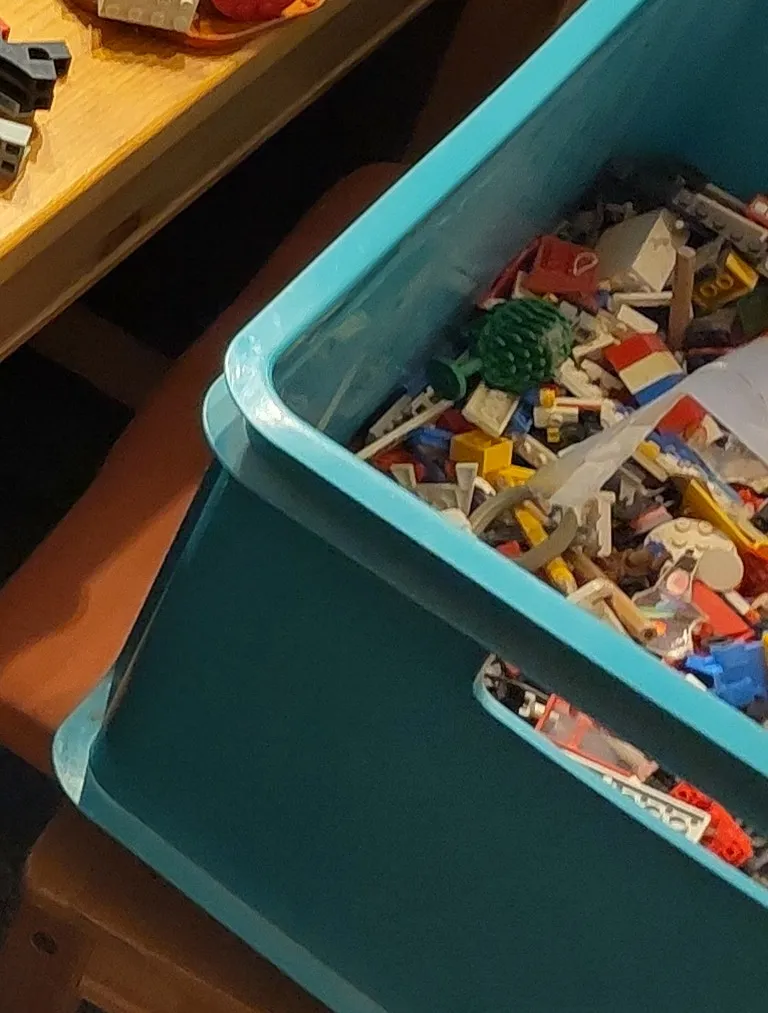
Here is a breakdown of the steps I took to reconstruct nearly all of my old Lego sets from the 90s.
Step 1: Buying and building sorting gear
Before you can start sorting your brick pile, you can make your life much easier by spending a few euros on sorting equipment. I bought two part bins at the local hardware store. In sum, they cost about 25 €. If you can wait for sales, you might get an even better price at your local discount supermarket.
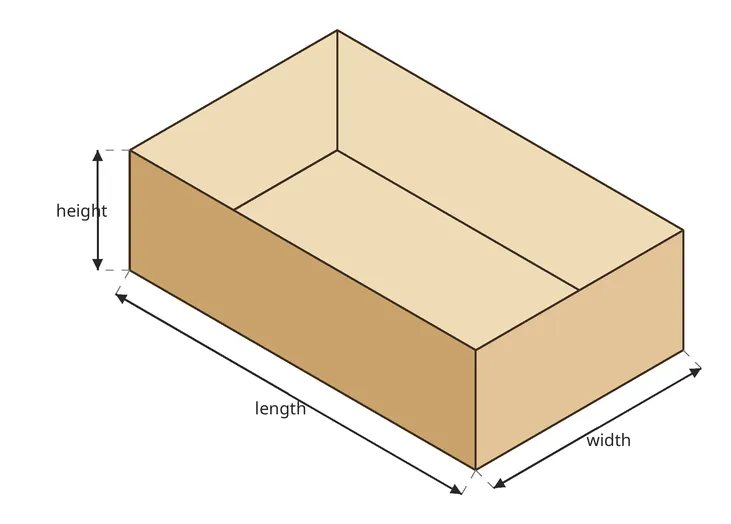
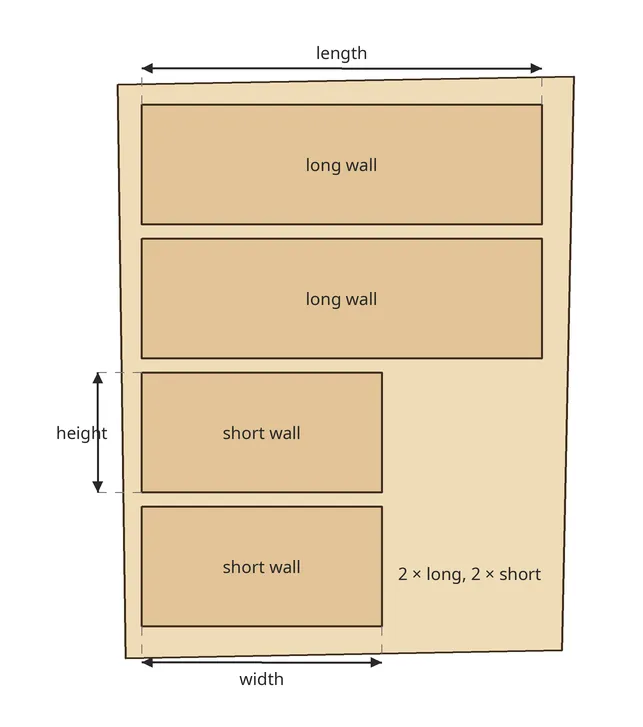
Another option is to build your own part bins from old cardboard boxes. Just use shipping boxes from your last online purchases, for example. To get the actual bins, you will need some cardboard scraps for building the bin walls. For a 3×3 grid in a rectangular box, you will need two short and two long walls to build a grid. The short walls will be as long as the width of your box, the long ones as long as the length of your box. All walls will be as high as the height of your box. Here are the steps for building the cardboard part bin:
-
Measure length, width and height of your box.
-
Cut the bin walls from your cardboard scraps.
-
Cut grooves of half the height into the walls to be able to stick them together. The two grooves must divide the wall into thirds. Cut the grooves of the long walls from the top edge and those of the short walls from the bottom edge, so they slot into each other.
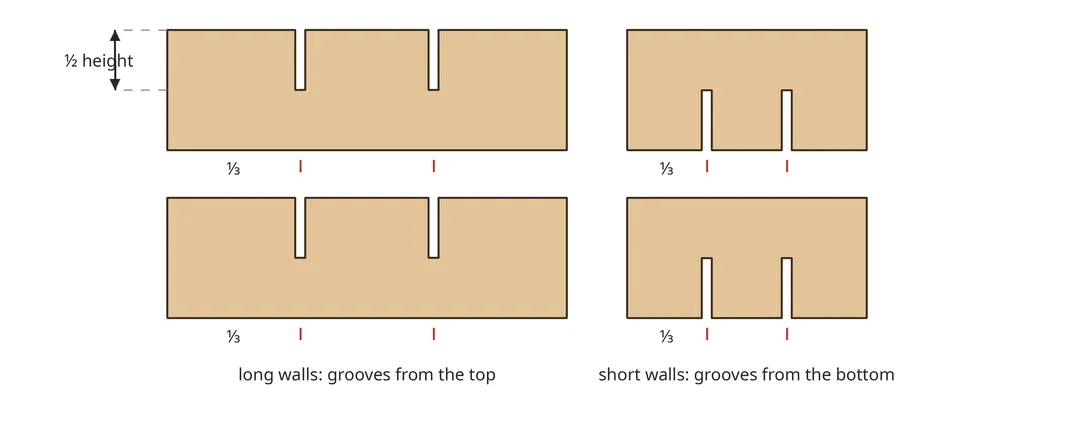
-
Now stick the walls together by putting the grooves of the two short walls into the ones of the long walls. The short walls are at a 90 degree angle to the long walls to create a grid.
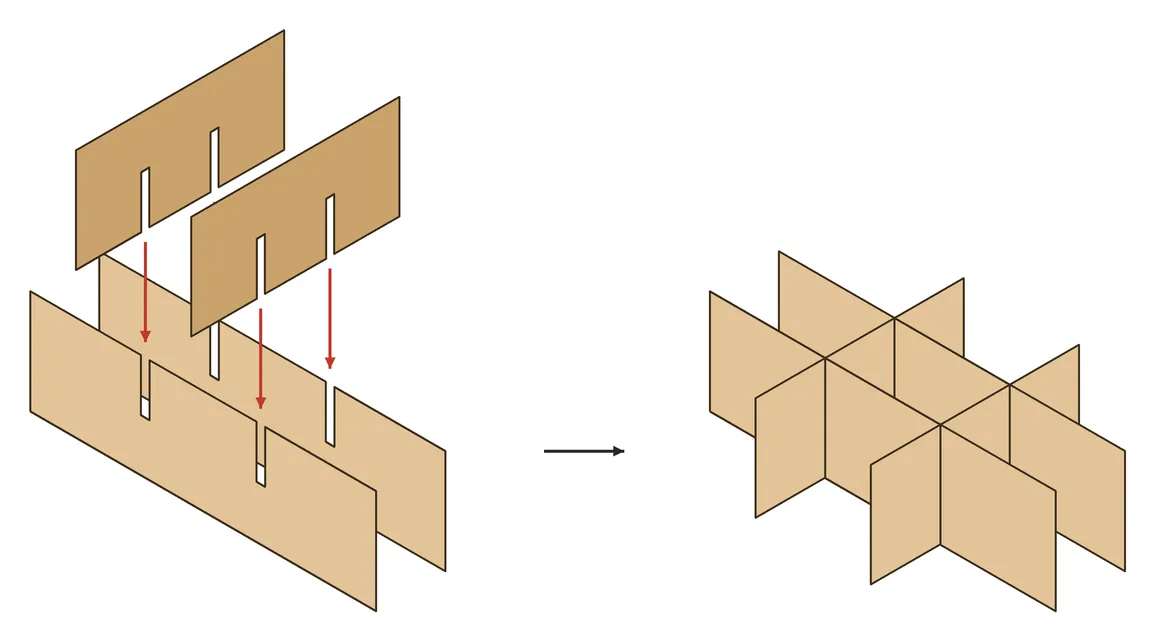
-
Now place the grid inside the cardboard box. You might need to adjust the size a bit by trimming the edges.
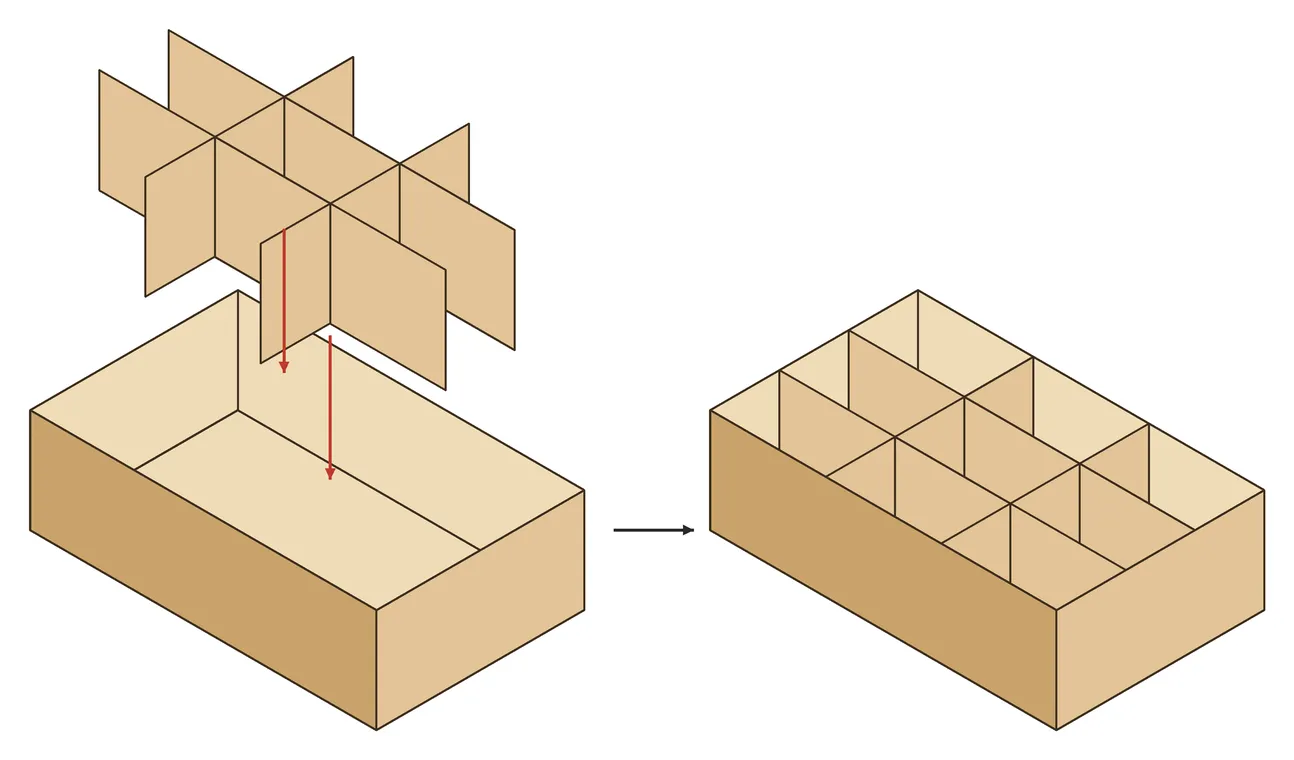
Another great source for larger sorting bins are food boxes, e.g. for potato salad.
Step 2: Sorting your Lego pile by part type
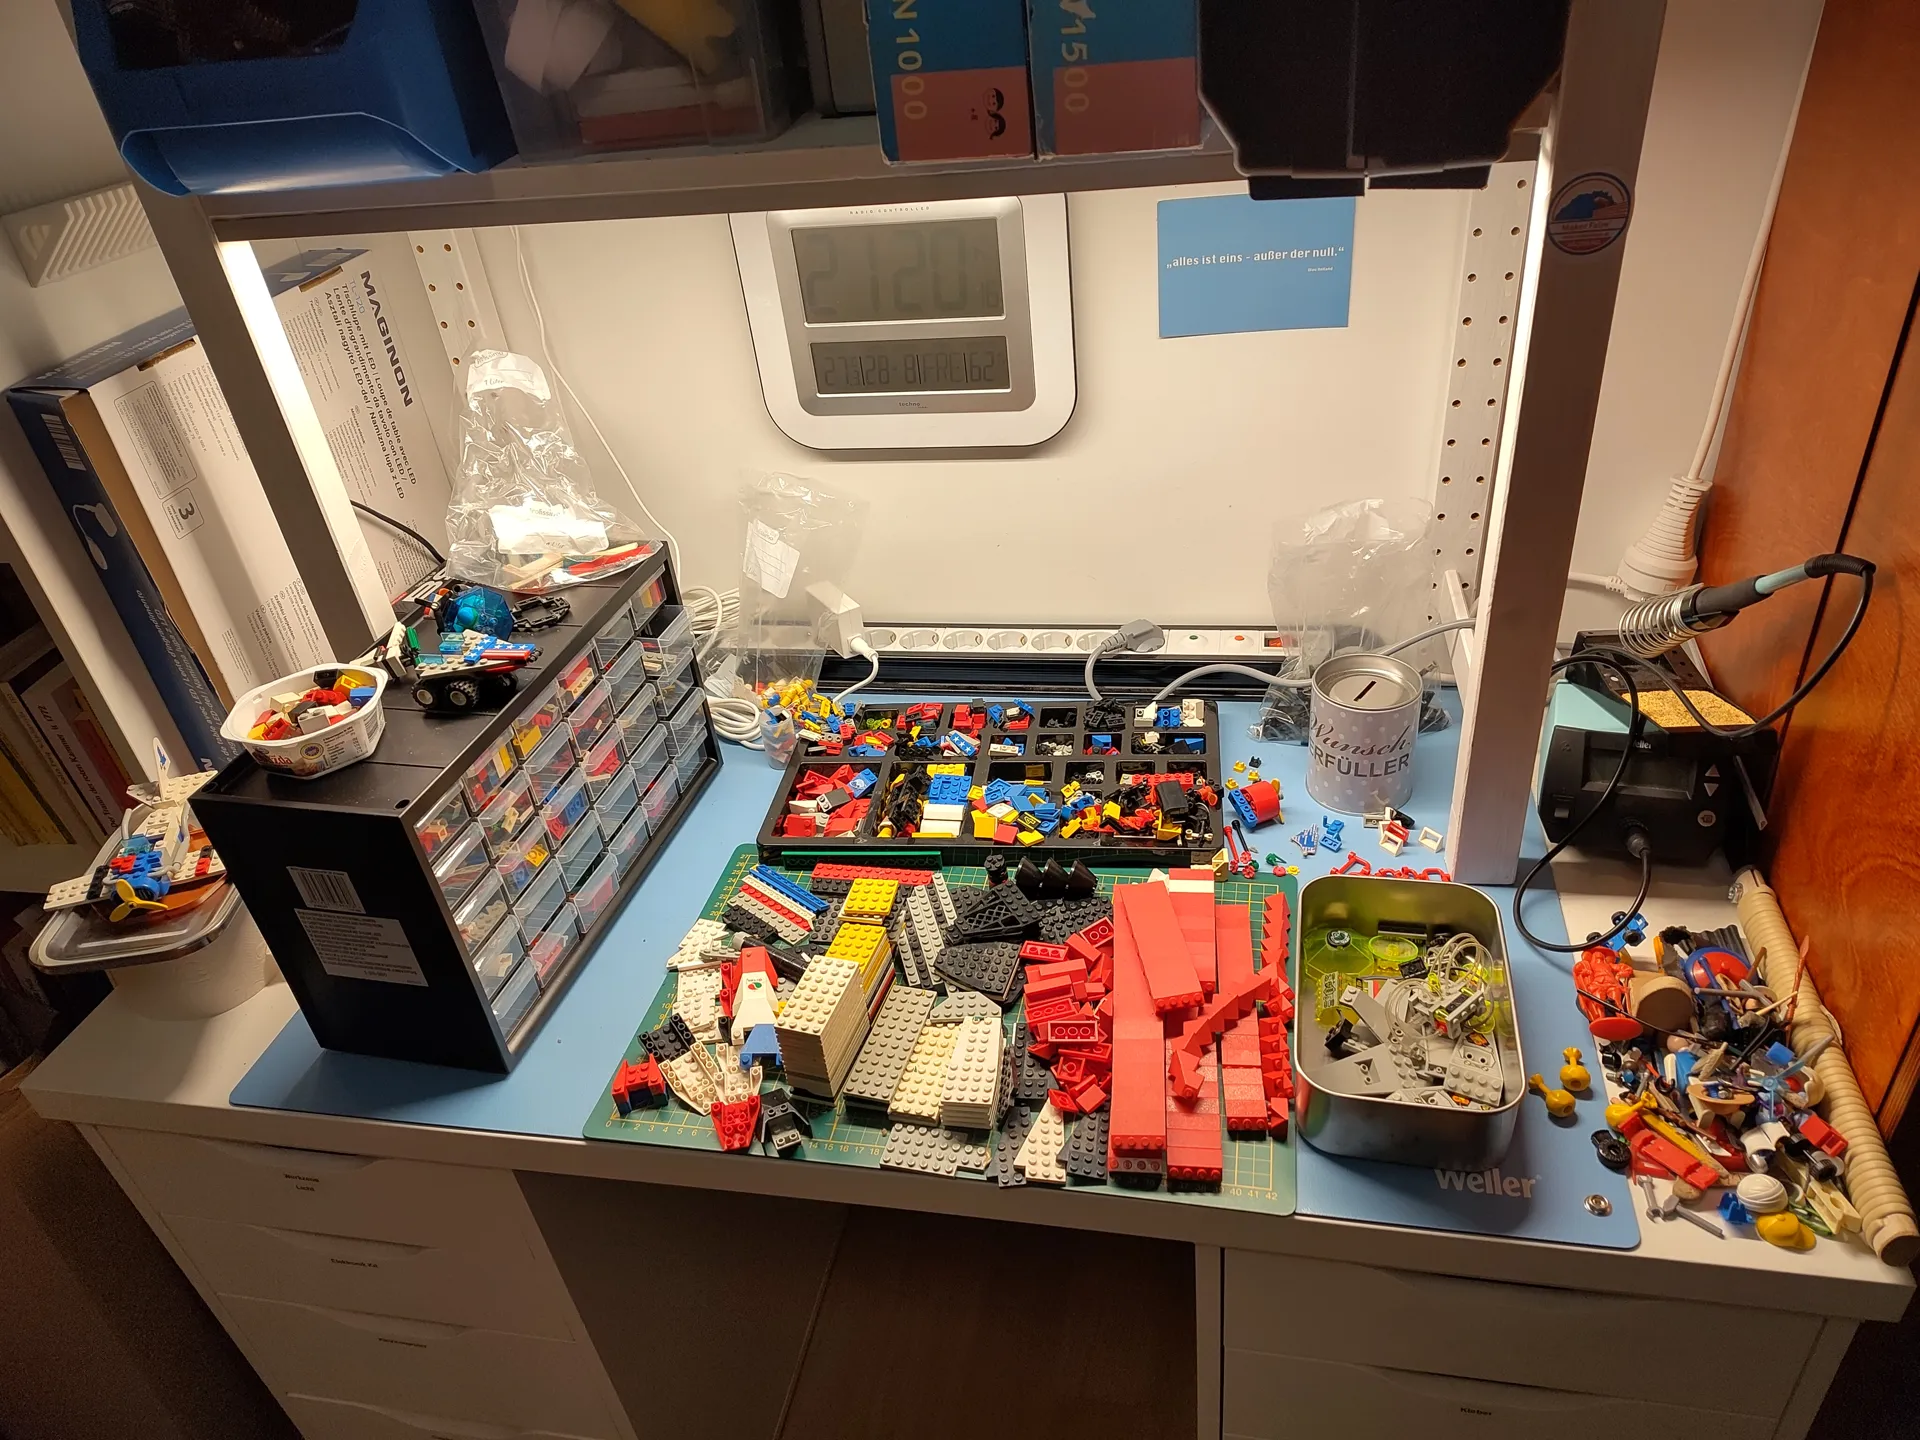
Now that you have your sorting equipment ready, it is time to go through your Lego pile piece by piece and sort it. My sorting strategy was inspired by a concept from computer science called a hash table. This is a data structure which allows fast lookup by sorting data into digital buckets. The trick is to choose the hash function for sorting in a way which keeps the number of elements inside a bucket small. For our sorting problem we are additionally constrained by the physical number of bins available. So the best sorting strategy is a compromise between the number of elements inside a bin and the number of bins, which cannot grow too large. To keep it short: I ended up sorting by part type but not by colour, because that would have taken too many bins and the number of parts of the same type was still manageable. I also had “infrequent item bins” which I used for part types occurring once or only a few times. Sorting through 7.5 kg of Lego (about 1.5 kg was already presorted from before) took me a couple of hours but was very relaxing.
Step 3: Identifying sets
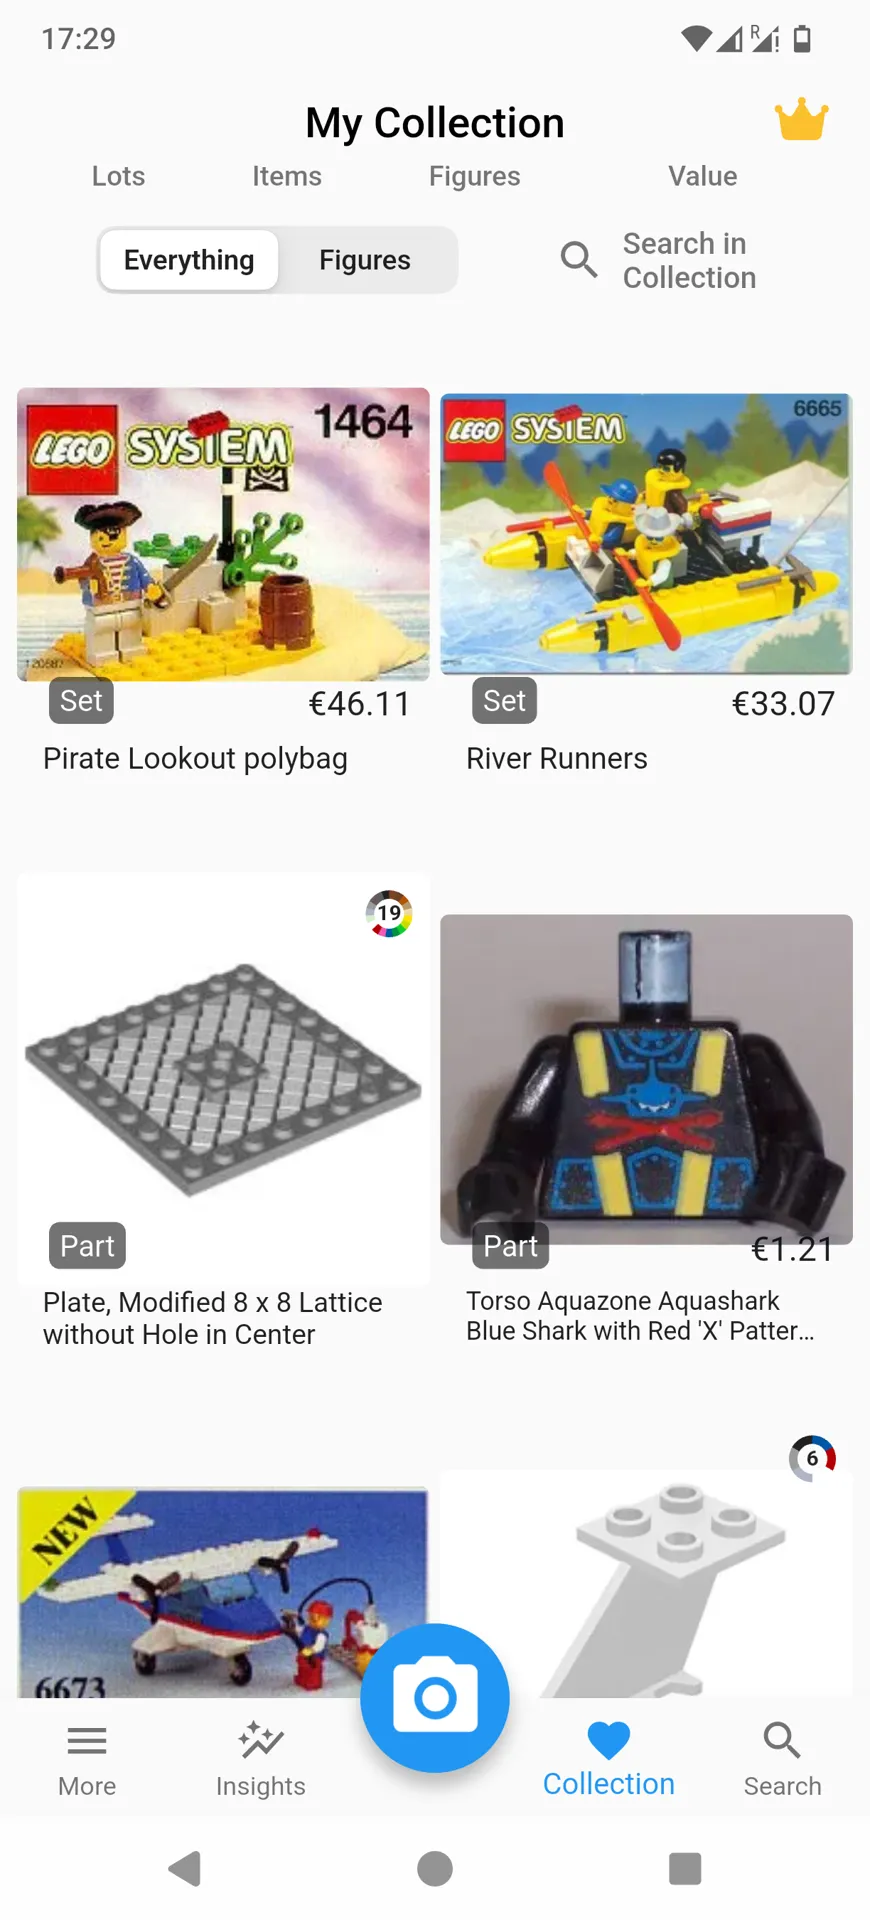
In the process of sorting, hopefully what I call “unique parts” will turn up. Often these are bricks with prints or stickers. It might also be unusual parts like the brushes of the street sweeper set or even minifigure parts.
I used the BrickScan Android app to scan these bricks. It gives you a search list of possible matches, from which you choose the one that seems to be the best visual fit. After you add the part to your collection, you can open its details page and scroll down to the “Sets” entry. This gives you a list of sets the part has been used in. If you choose a fairly unique part, the list will be short. Identifying the proper set will be a matter of recollection and of looking through your sorted collection for other parts this set includes. You can find those by navigating to the set details page and clicking on the “Set Inventory” tab.
The BrickScan app only lets you scan five bricks a day. But if you already start scanning during step 2 when you first find the unique items and continue during step 5, which is gathering the set parts, this should be enough. If you want to go faster, you can buy the premium version. This lets you scan multiple bricks at once, which lets you build a complete parts list and reconstruct your sets with the built-in set finder of BrickScan. For me, the free tier did nicely.
Step 4: Printing set inventories
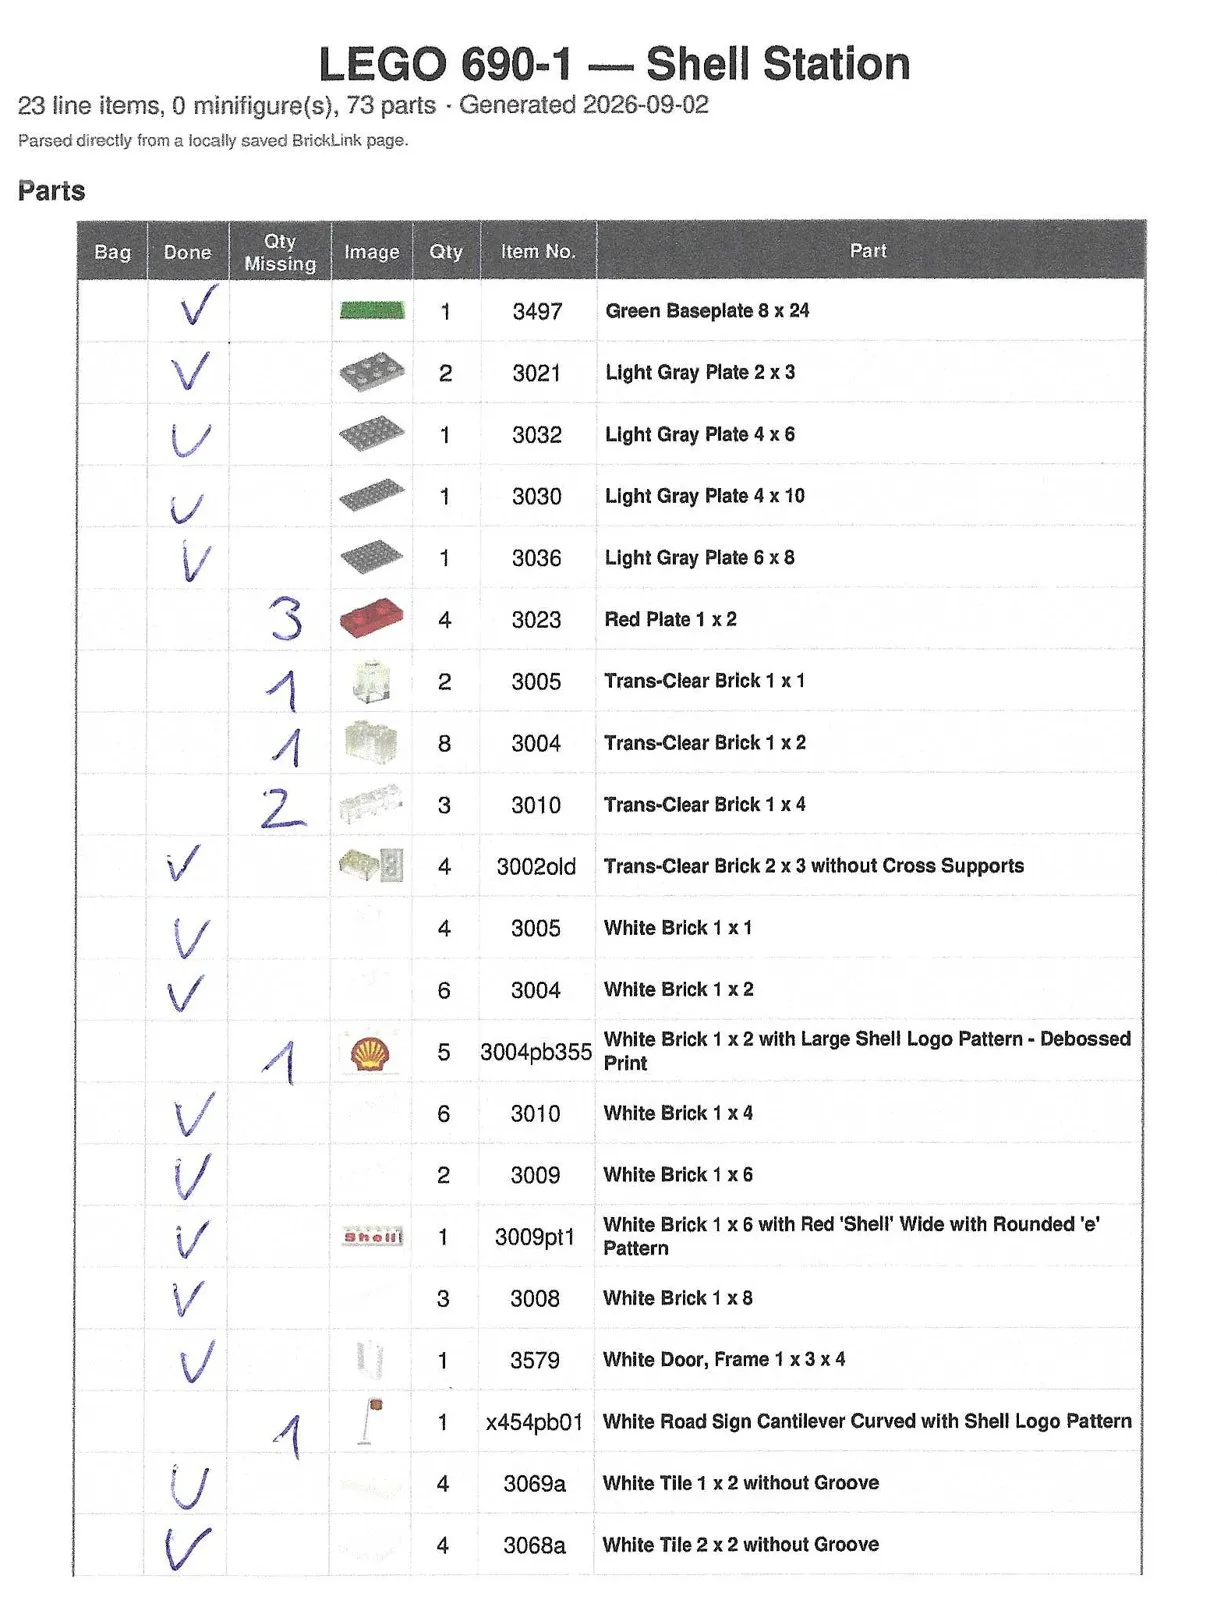
If you prefer managing set inventories digitally, you can of course use LibreOffice Calc or a similar spreadsheet software. For me a screen-based workflow, where I would have had to switch between bricks, mouse and keyboard a lot, felt inconvenient.
I preferred to print out parts lists on paper to be able to fill them in with a pen. Unfortunately, the set inventory print layout of BrickLink isn’t very well suited for that. To fix that, I let Claude Opus 5.1 implement a Python script to improve the layout (here is the chat). The columns are now arranged to look nice on DIN A4 paper. In addition to part name, quantity and thumbnail there are now also columns for ticking off complete part positions and recording missing quantities.
Unfortunately, Claude cannot directly access the set inventories on BrickLink. As a workaround, I had to download the set inventory HTML pages by doing a right click and selecting “Save Page As…” in Firefox. The Python script could now access the local HTML files to create the nicely laid out set inventories.
Step 5: Gathering the set parts
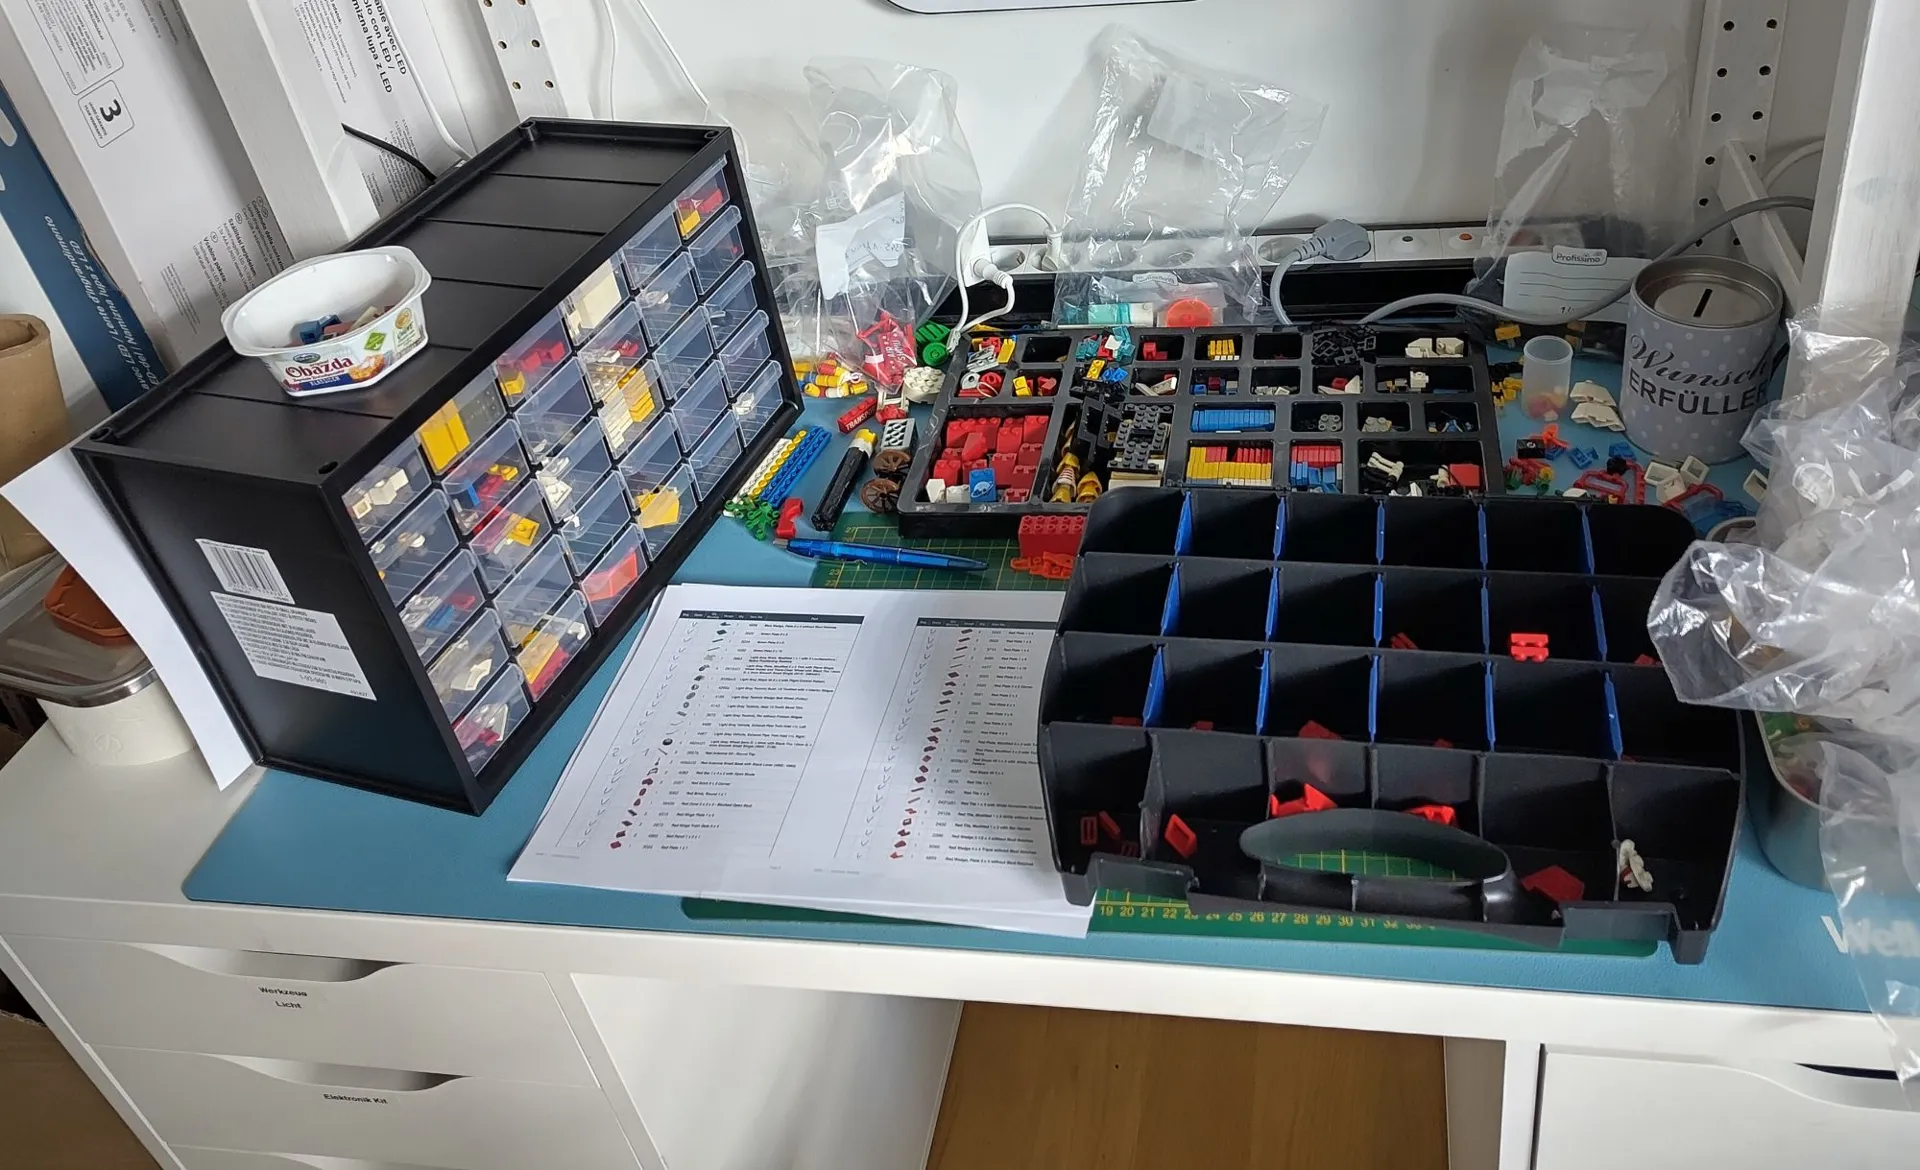
Based on the set inventories, I gathered the parts from my nicely organized bins. This was one of the most satisfying bits of the process, because it felt really nice to see the reconstructed sets.
For larger sets, I used one freezer bag per colour, cramming more colours in if space permitted. I labeled each bag with set ID, set name, colour and bag number, adding the total number of bags in the end.
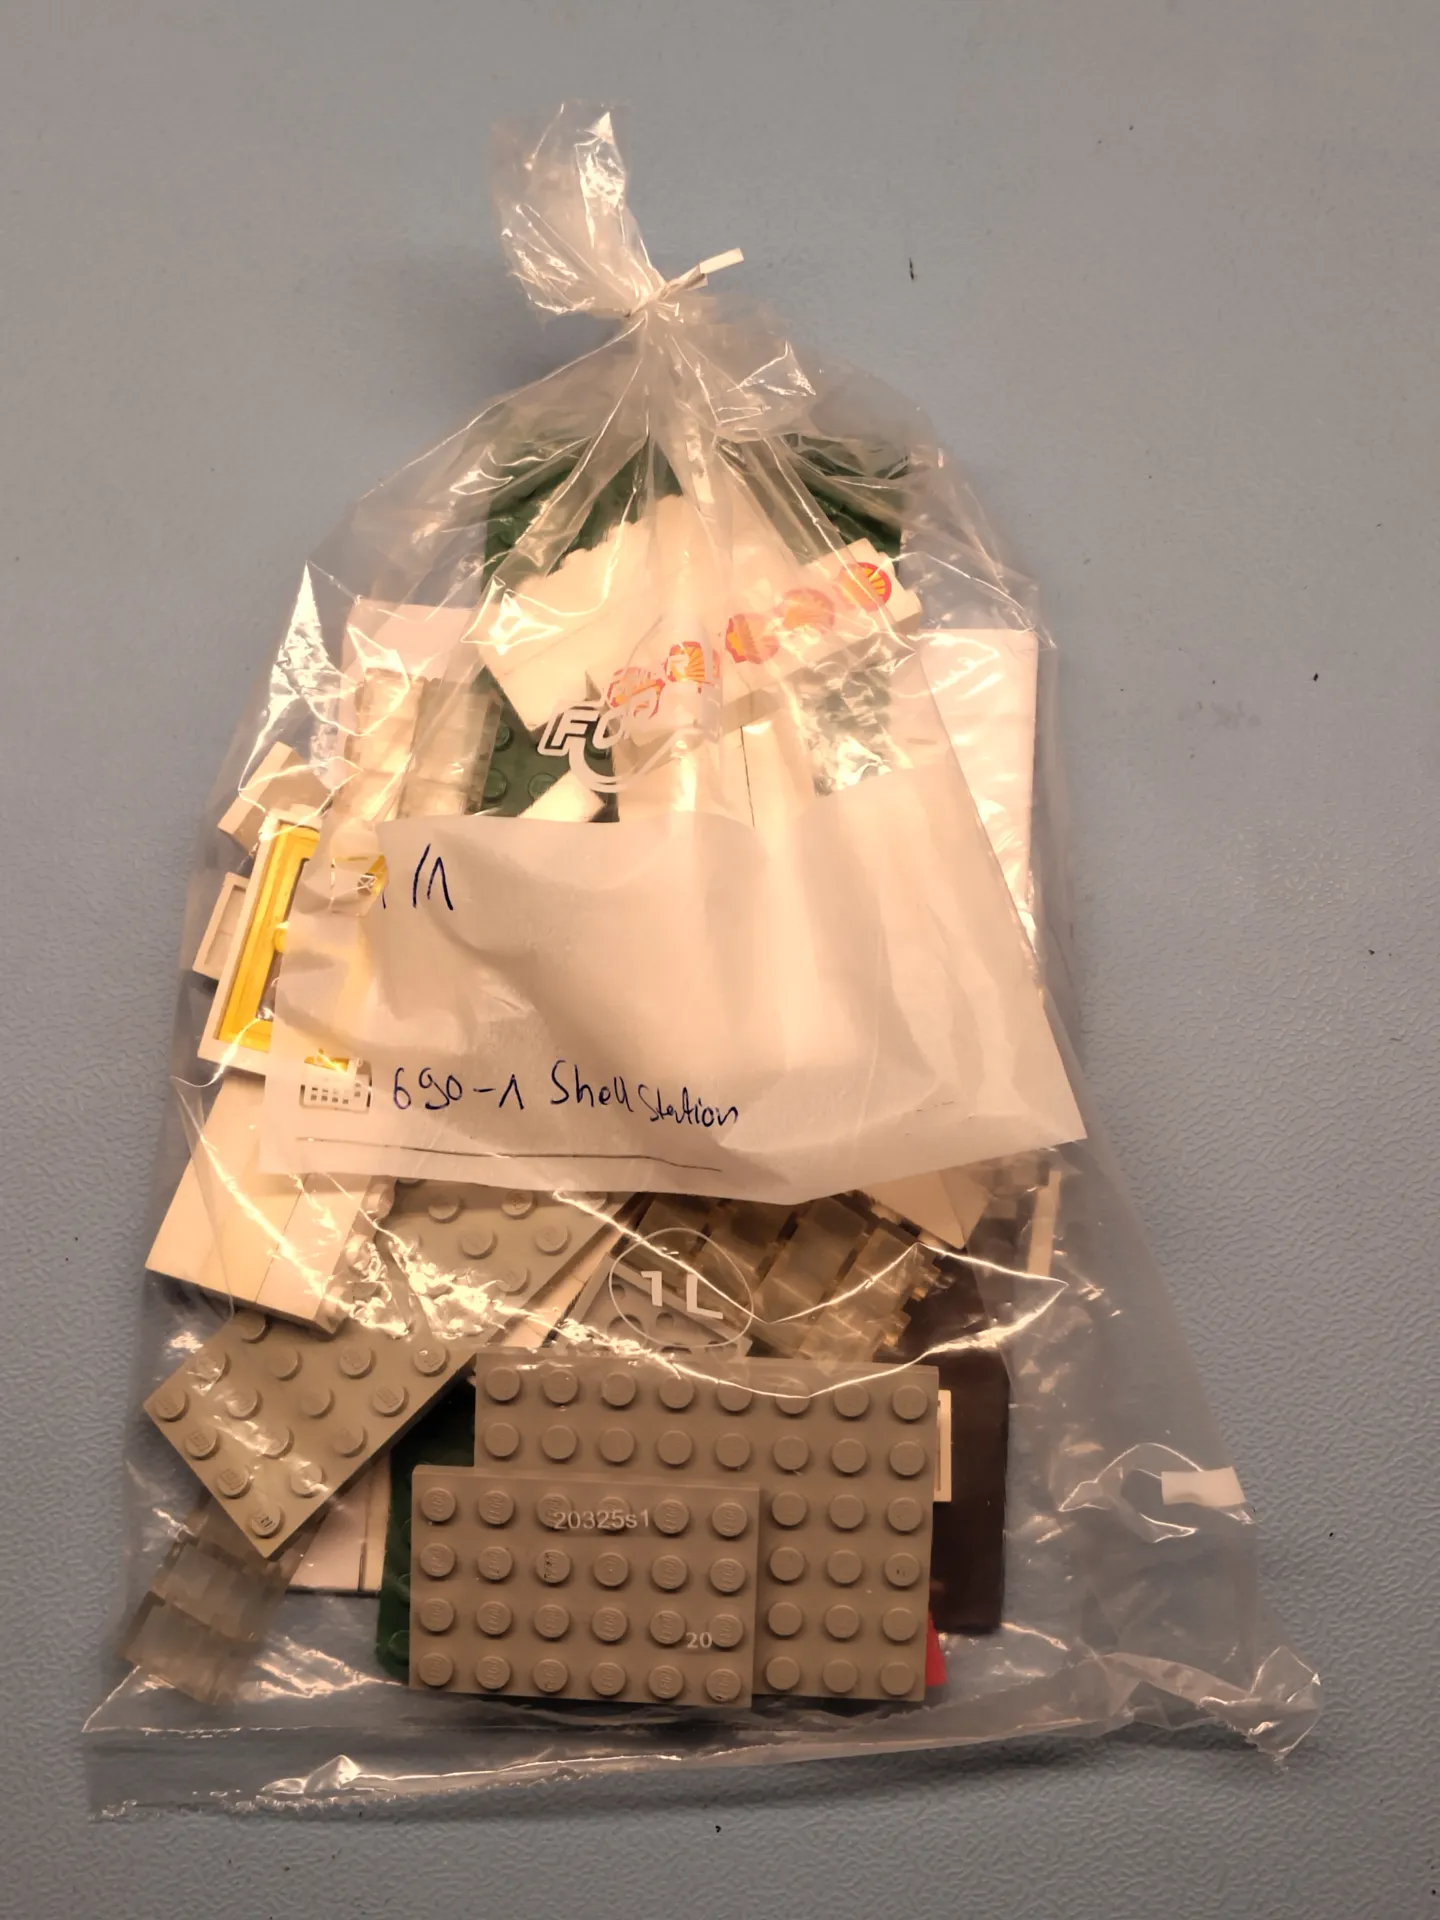
For small sets, I just used one bag for the whole set. I closed the bags with the included fasteners. If quantities were missing, I marked those on the set inventory list sheet for later replacement.
As I assembled more and more sets, the number of parts to choose from decreased, making it easier to identify sets even if they didn’t have very unique parts in the set. I even managed to reconstruct some of my father’s sets from the 1970s.
Step 6: Replacing missing parts
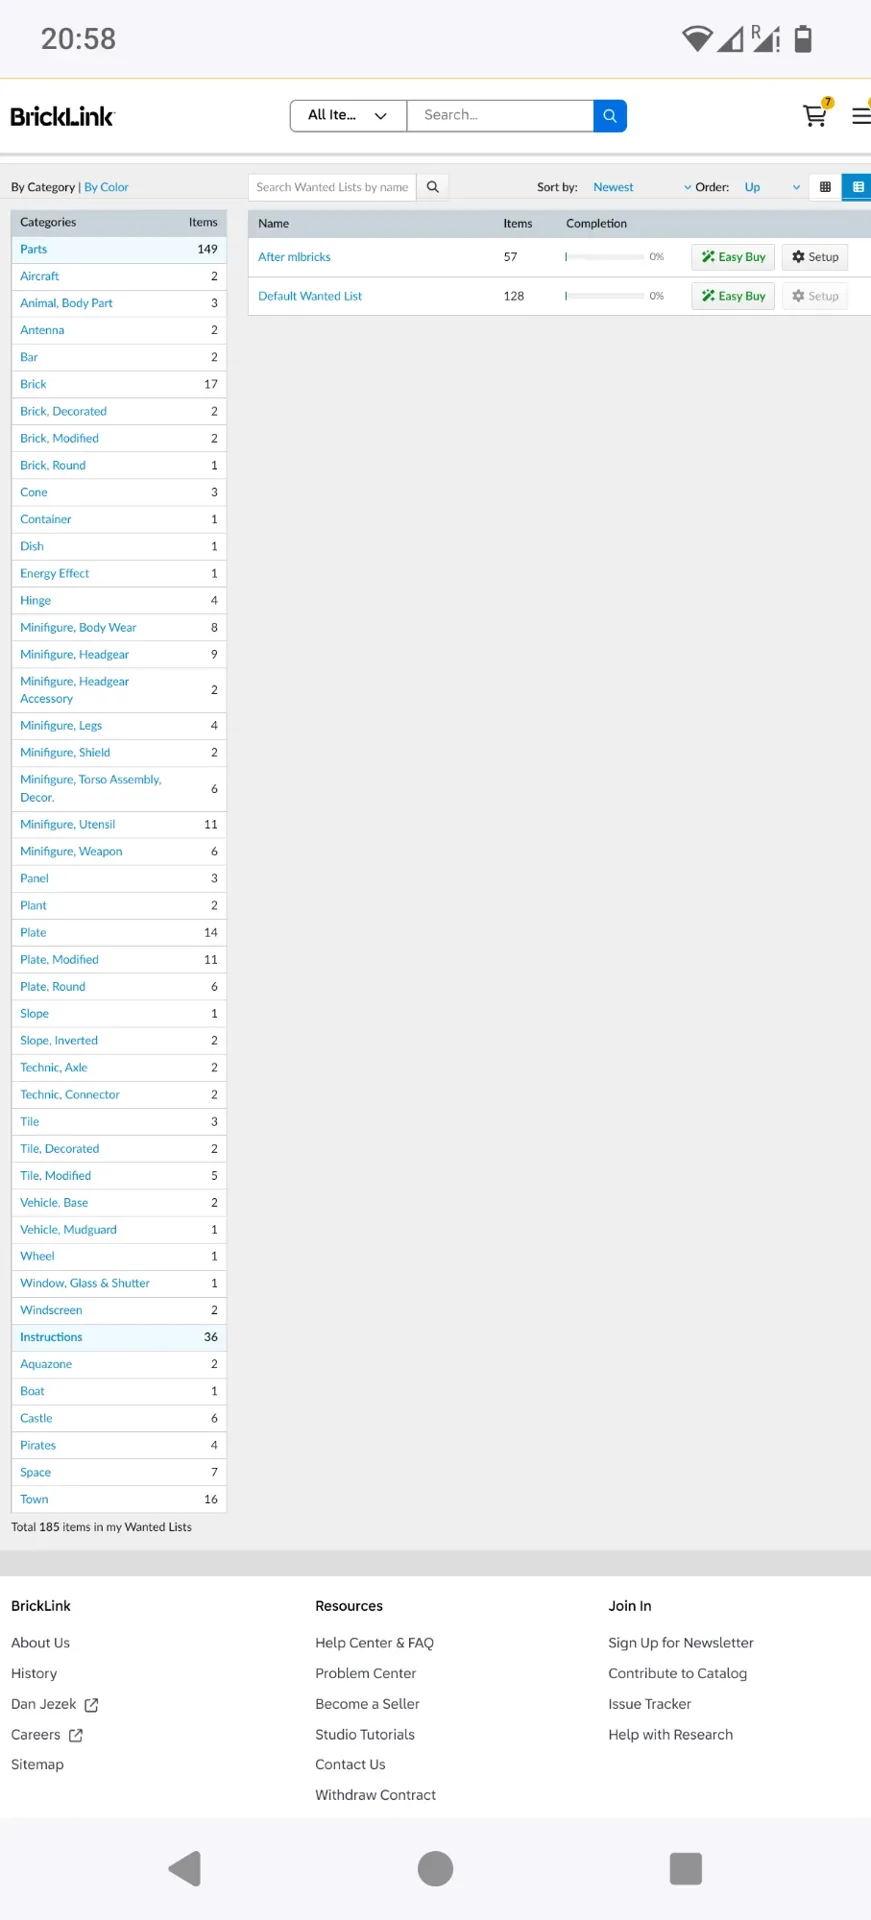
One of the beauties of the latest AI models is that they are pretty good at OCR and handwriting recognition. So I just scanned my filled-in set inventory lists and asked Claude to make a list of all missing part quantities. I then let the AI convert the missing quantities list into the import format for BrickLink shopping lists (BrickLink calls them “Wanted Lists”) and imported the file into BrickLink: In the top menu, go to Want → Upload, switch to the BrickLink XML tab, paste the XML, select or create the wanted list it should go into, click Proceed to verify items, check the matched parts and confirm adding them to the list.
The BrickLink marketplace offers used Lego parts from various resellers. Unfortunately, it is nearly impossible to get all parts from one shop, because they are all rather small enterprises. Parts themselves are often not very costly – with some exceptions – so shipping cost is a huge cost driver. It pays to get your items from as few shops as possible. Luckily, BrickLink offers functionality to find the optimum distribution of the shopping list across shops. Unfortunately, this process is a bit flawed, because some shops have a minimum amount you have to order, others require in-person pickup, and these shop properties are not always filled in properly by shop owners for the algorithm to catch it. But after some back and forth I managed to order almost all of my parts from six shops across Europe. I just decided to leave some very expensive ones out. 7 euros is definitely more than I am willing to pay for a Lego wand, even if it’s luminescent and belongs to Majisto.
Step 7: Replacing missing instructions
Many Lego instruction manuals are available for download online, either on lego.com for modern sets, on BrickLink for older sets or on various fan sites to be found via Ecosia. The problem is: these are not printer friendly, because they are very colourful. Also the printing quality was not great, at least on my HP printer. So I thought about having them printed at a local copy shop, but looking at the prices – 1 euro for one page of colour printed A4 paper – I realized it is actually cheaper to buy used original instruction manuals. So I just added the missing manuals to my BrickLink shopping list and clicked “buy”. The overall price for replacements and shipping was about 150 €. My sets were all about 90 % complete on average at the start.
Step 8: Completing sets
With all replacements received, I went through my inventory lists again and completed all sets. Very satisfying.
Step 9: Washing the bricks
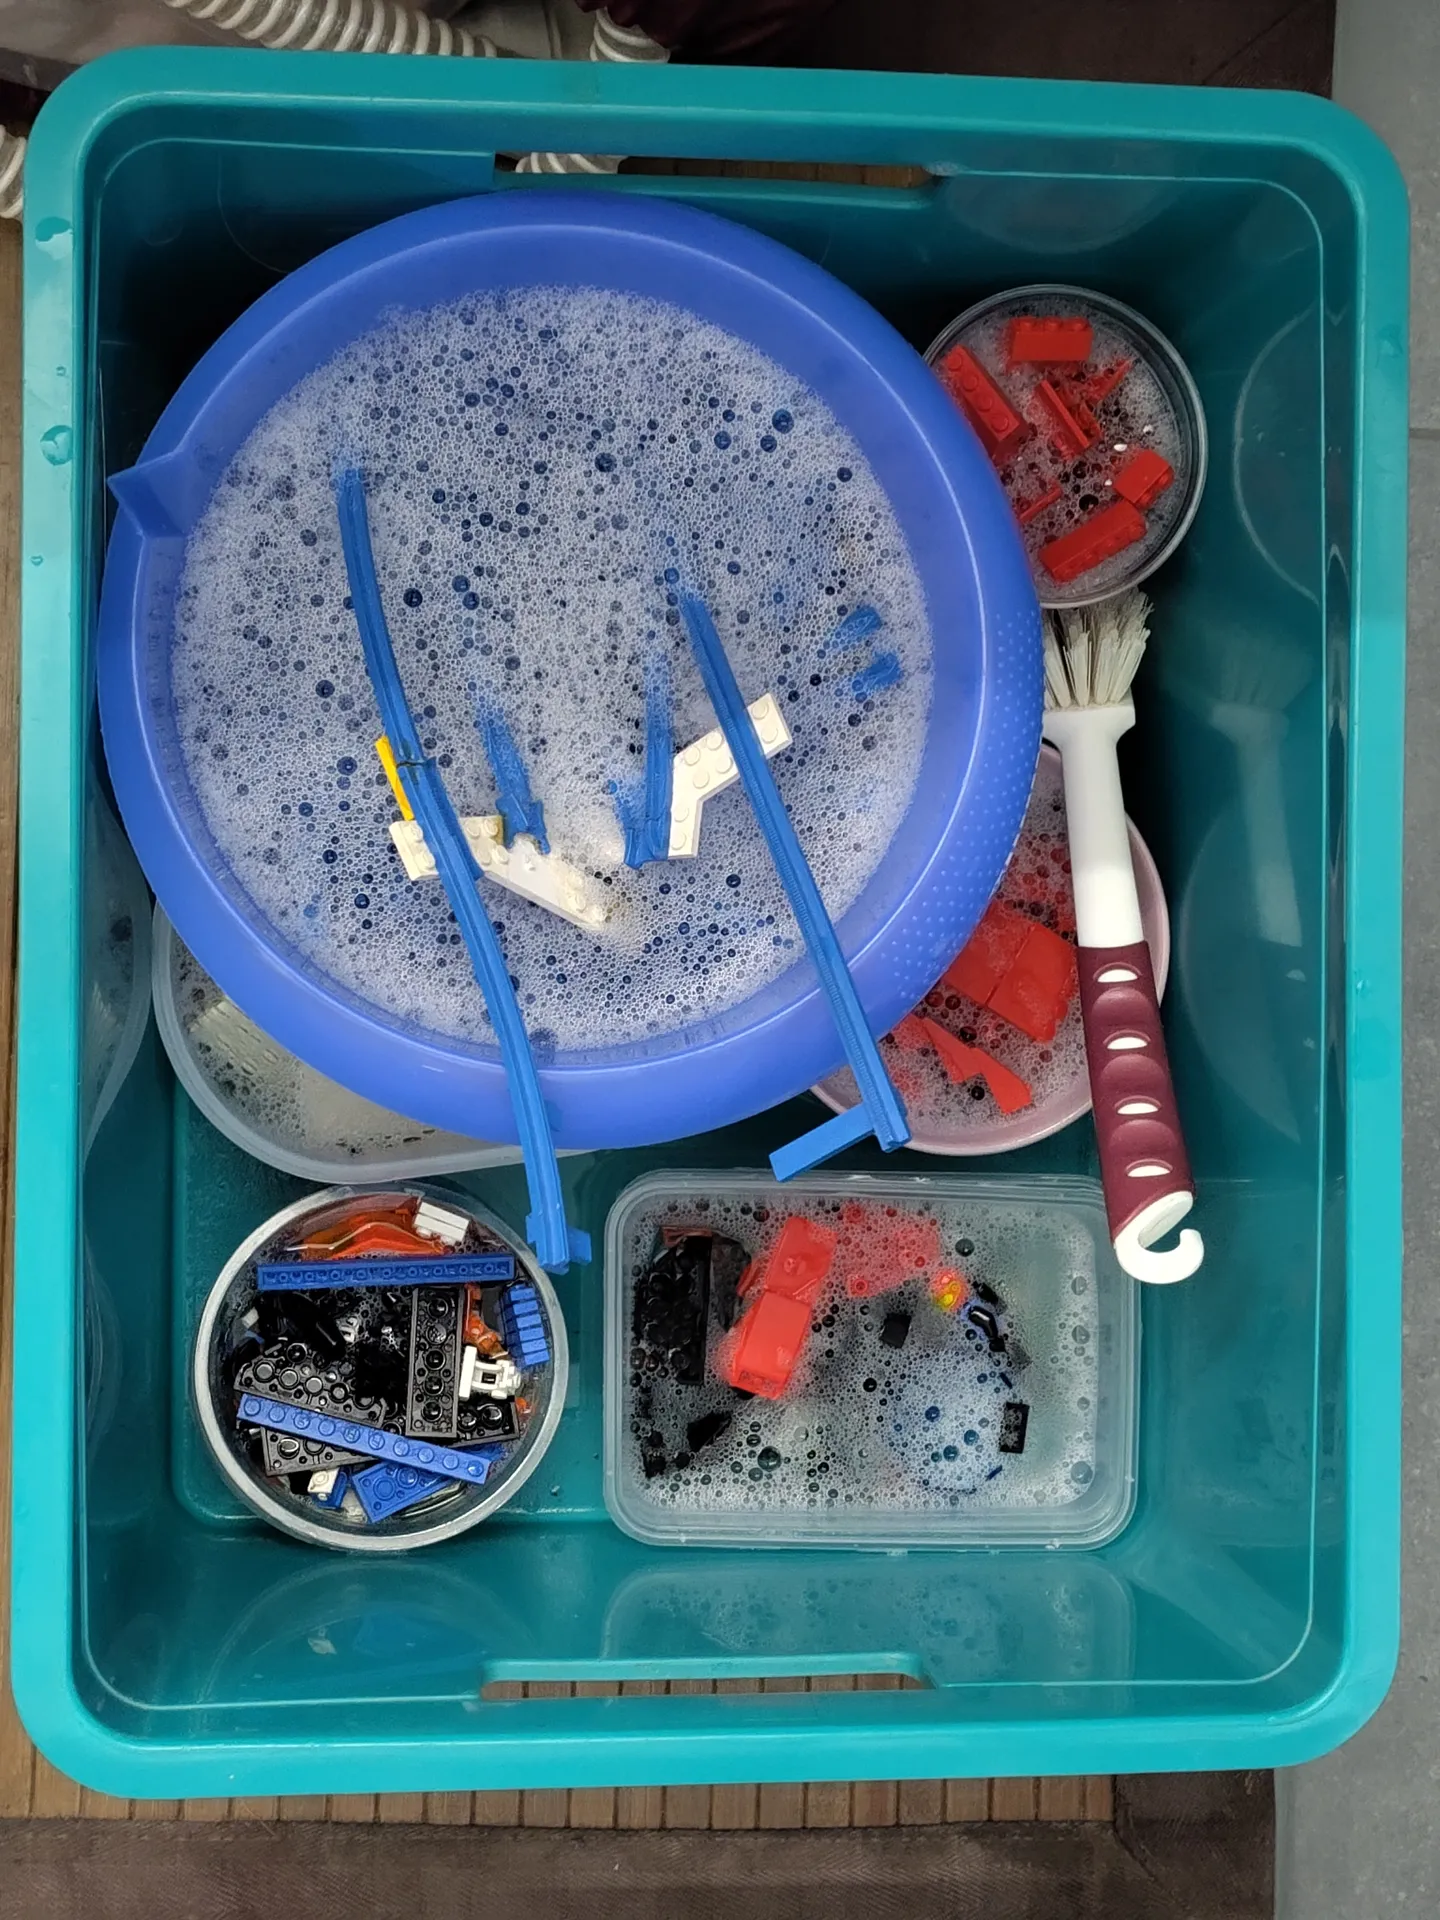
Some guides for sorting Lego start by washing the bricks first. I decided against that, because before washing, all parts with stickers need to be washed separately. So in my case I would have had to go through all parts once before sorting by part type just to make sure none of the sensitive parts get washed. I found it more convenient to wash the sets after sorting instead. That way it was easier to spot bricks that needed careful washing. These I washed manually and briefly.
I soaked the rest of the pieces in water with washing-up liquid for about 8 hours, rinsed them, used a brush for heavily soiled pieces and soaked them again for a few hours in tap water. Each bag was washed in its own bowl.
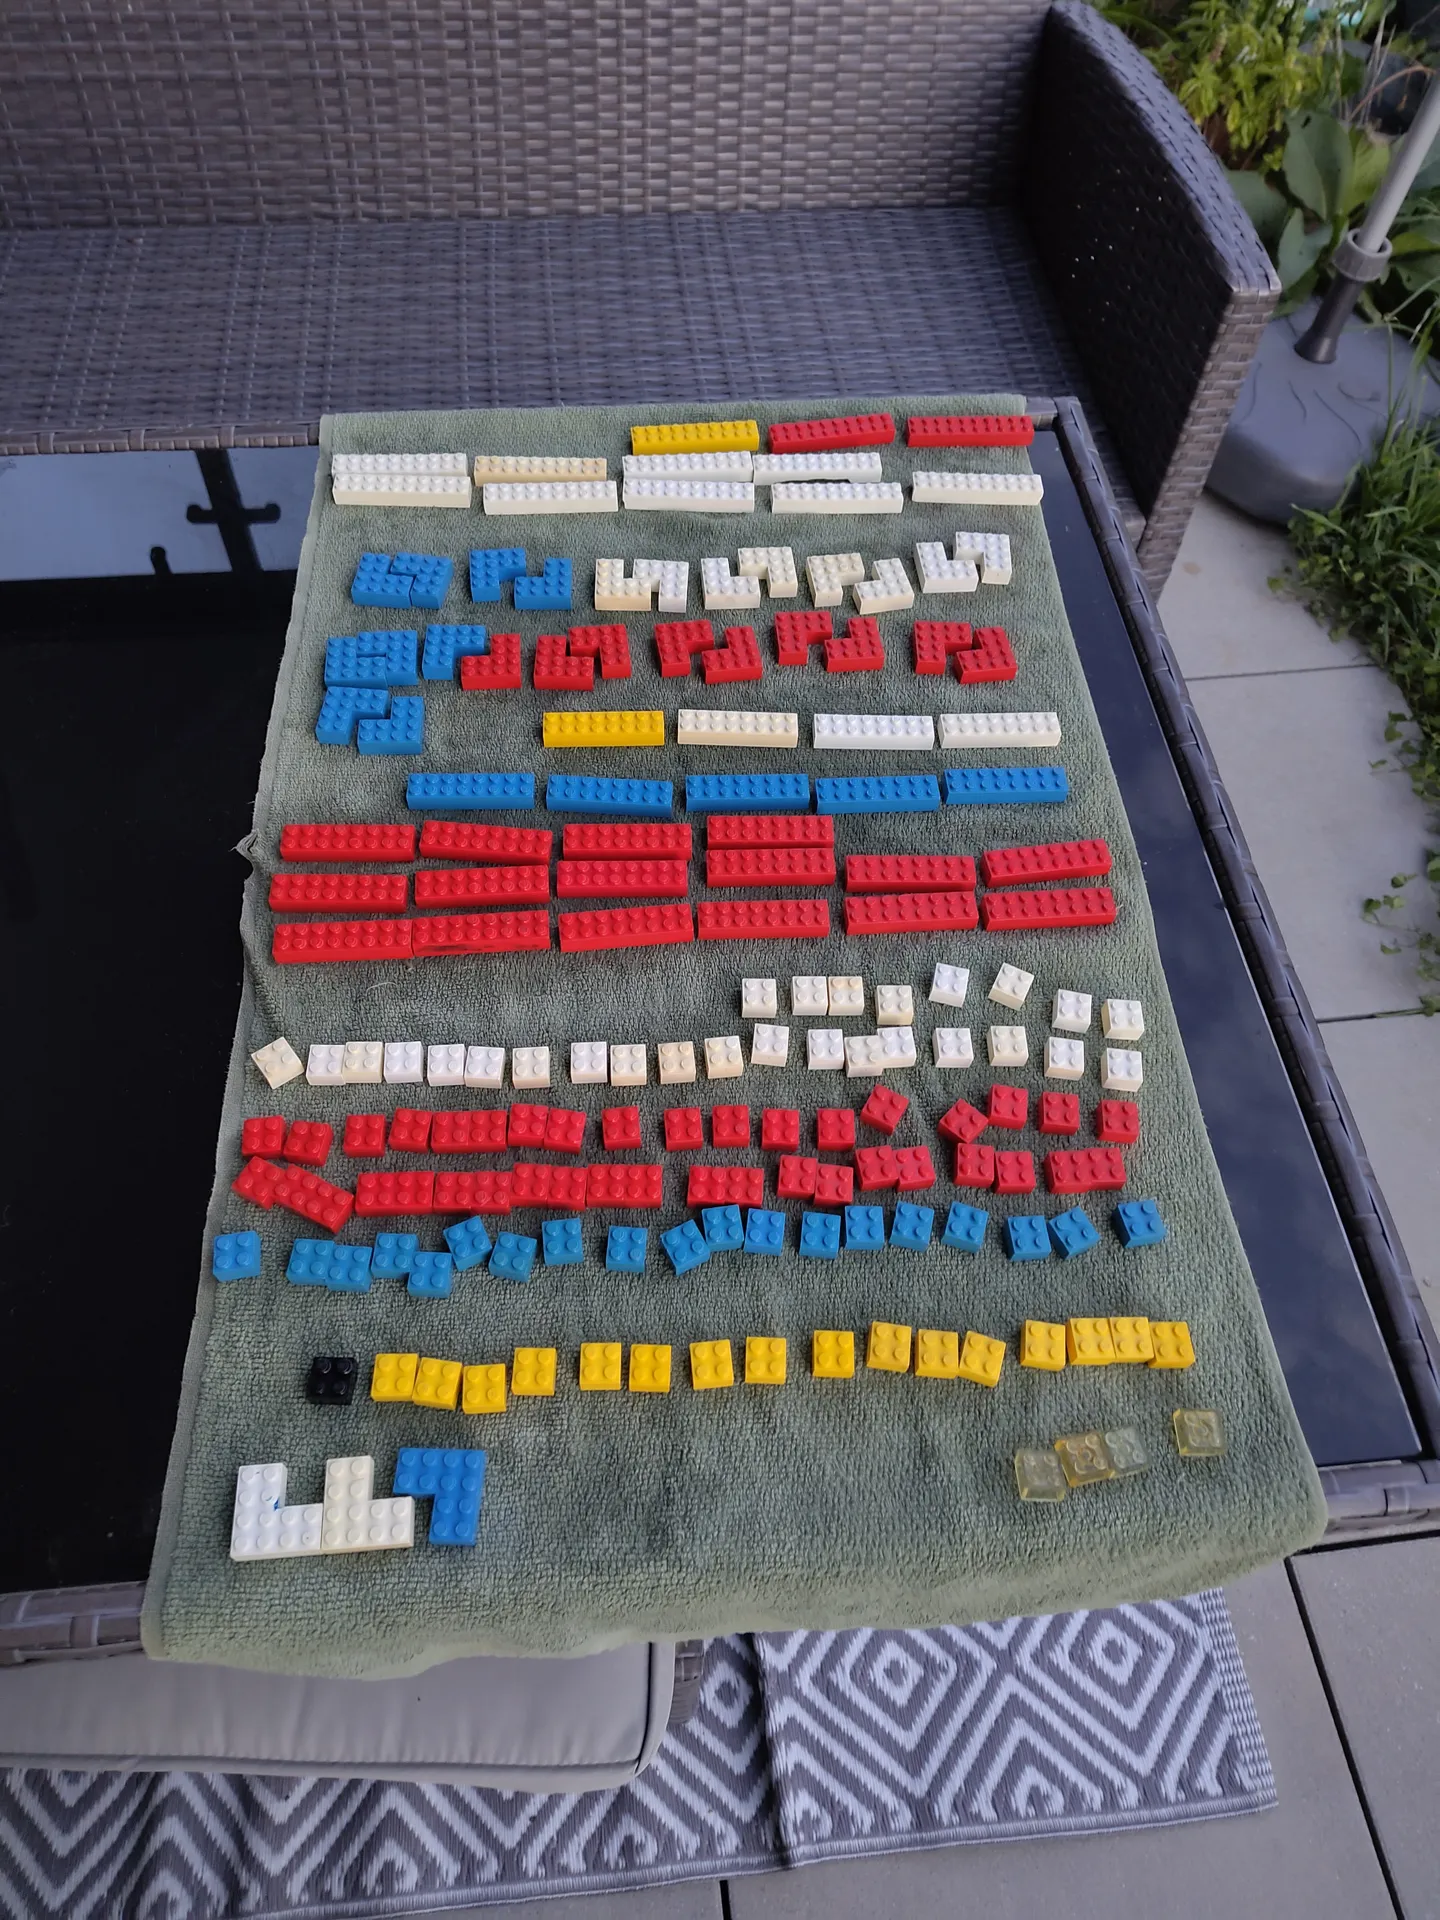
Afterwards, I dried the pieces on a towel. Some pieces which had been painted with permanent markers were additionally cleaned with a cloth and isopropanol.
Step 10: Replacing boxes
To really have a visually appealing present for my child, I want to give it the sets in proper boxes with the original art. Unfortunately, I have kept only one of the original boxes.
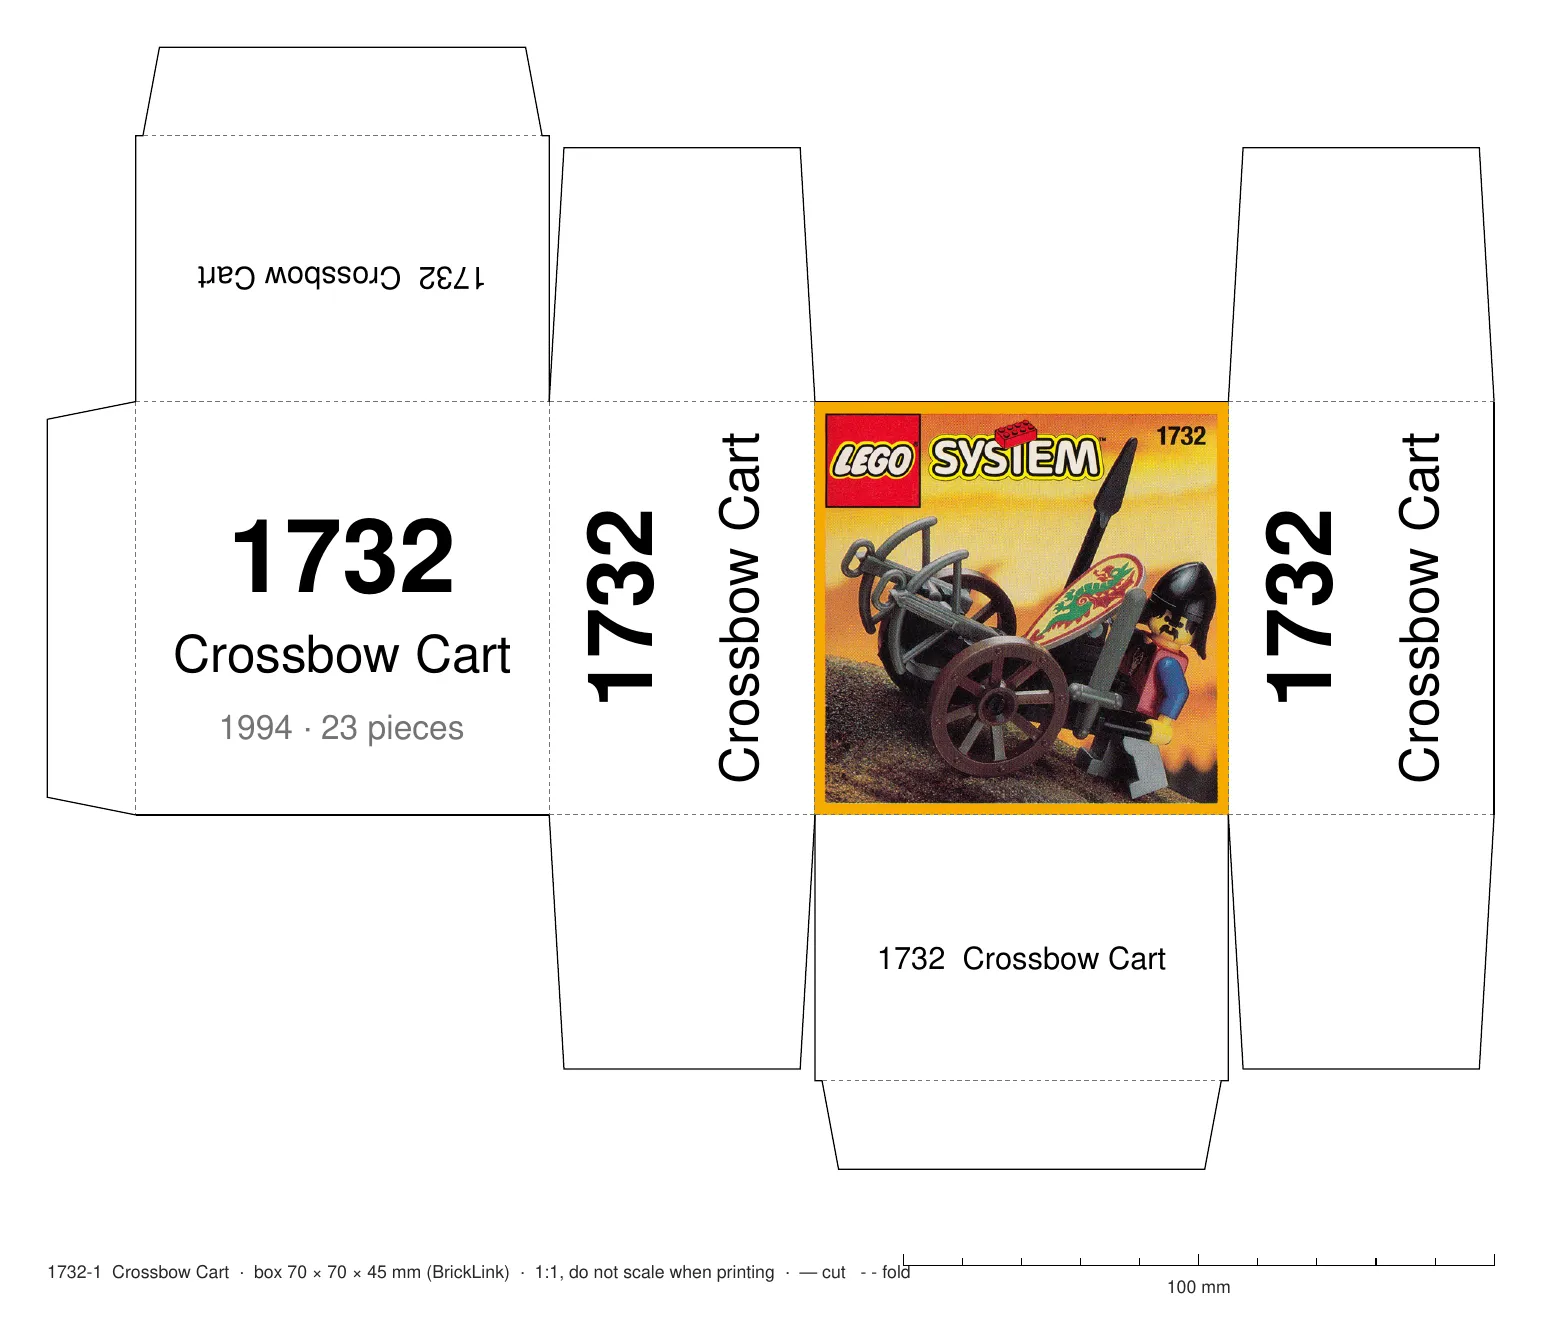
My first idea was to make custom boxes from cardboard with the original art. I let Claude implement a script which reads the original box dimensions from BrickLink and creates PDF files with templates. These can be printed out, glued on cardboard, cut out, folded and glued together to create a box with the original dimensions. While this process yields the best results, it is also very time consuming. As a shortcut, I ended up reusing boxes from a Christmas calendar and just gluing the original box art on one side.
I took measurements of all available boxes and let Claude calculate how to best fit which sets into which boxes. The AI adjusted the original box art accordingly (scripts). I printed and glued on the art. That worked pretty well apart from Claude getting the volume of one 1970s set wrong and choosing a box that was a bit too small. But that was easily fixed by a manual box switch.
For the bigger sets I used the shipping boxes the replacement parts arrived in and an IKEA Samla I had lying around.
The final result looks visually very pleasing to me. While this was a time consuming project with 40+ hours spent, it was also very satisfying.
Bonus Content: Rebricking & AI Rebricking
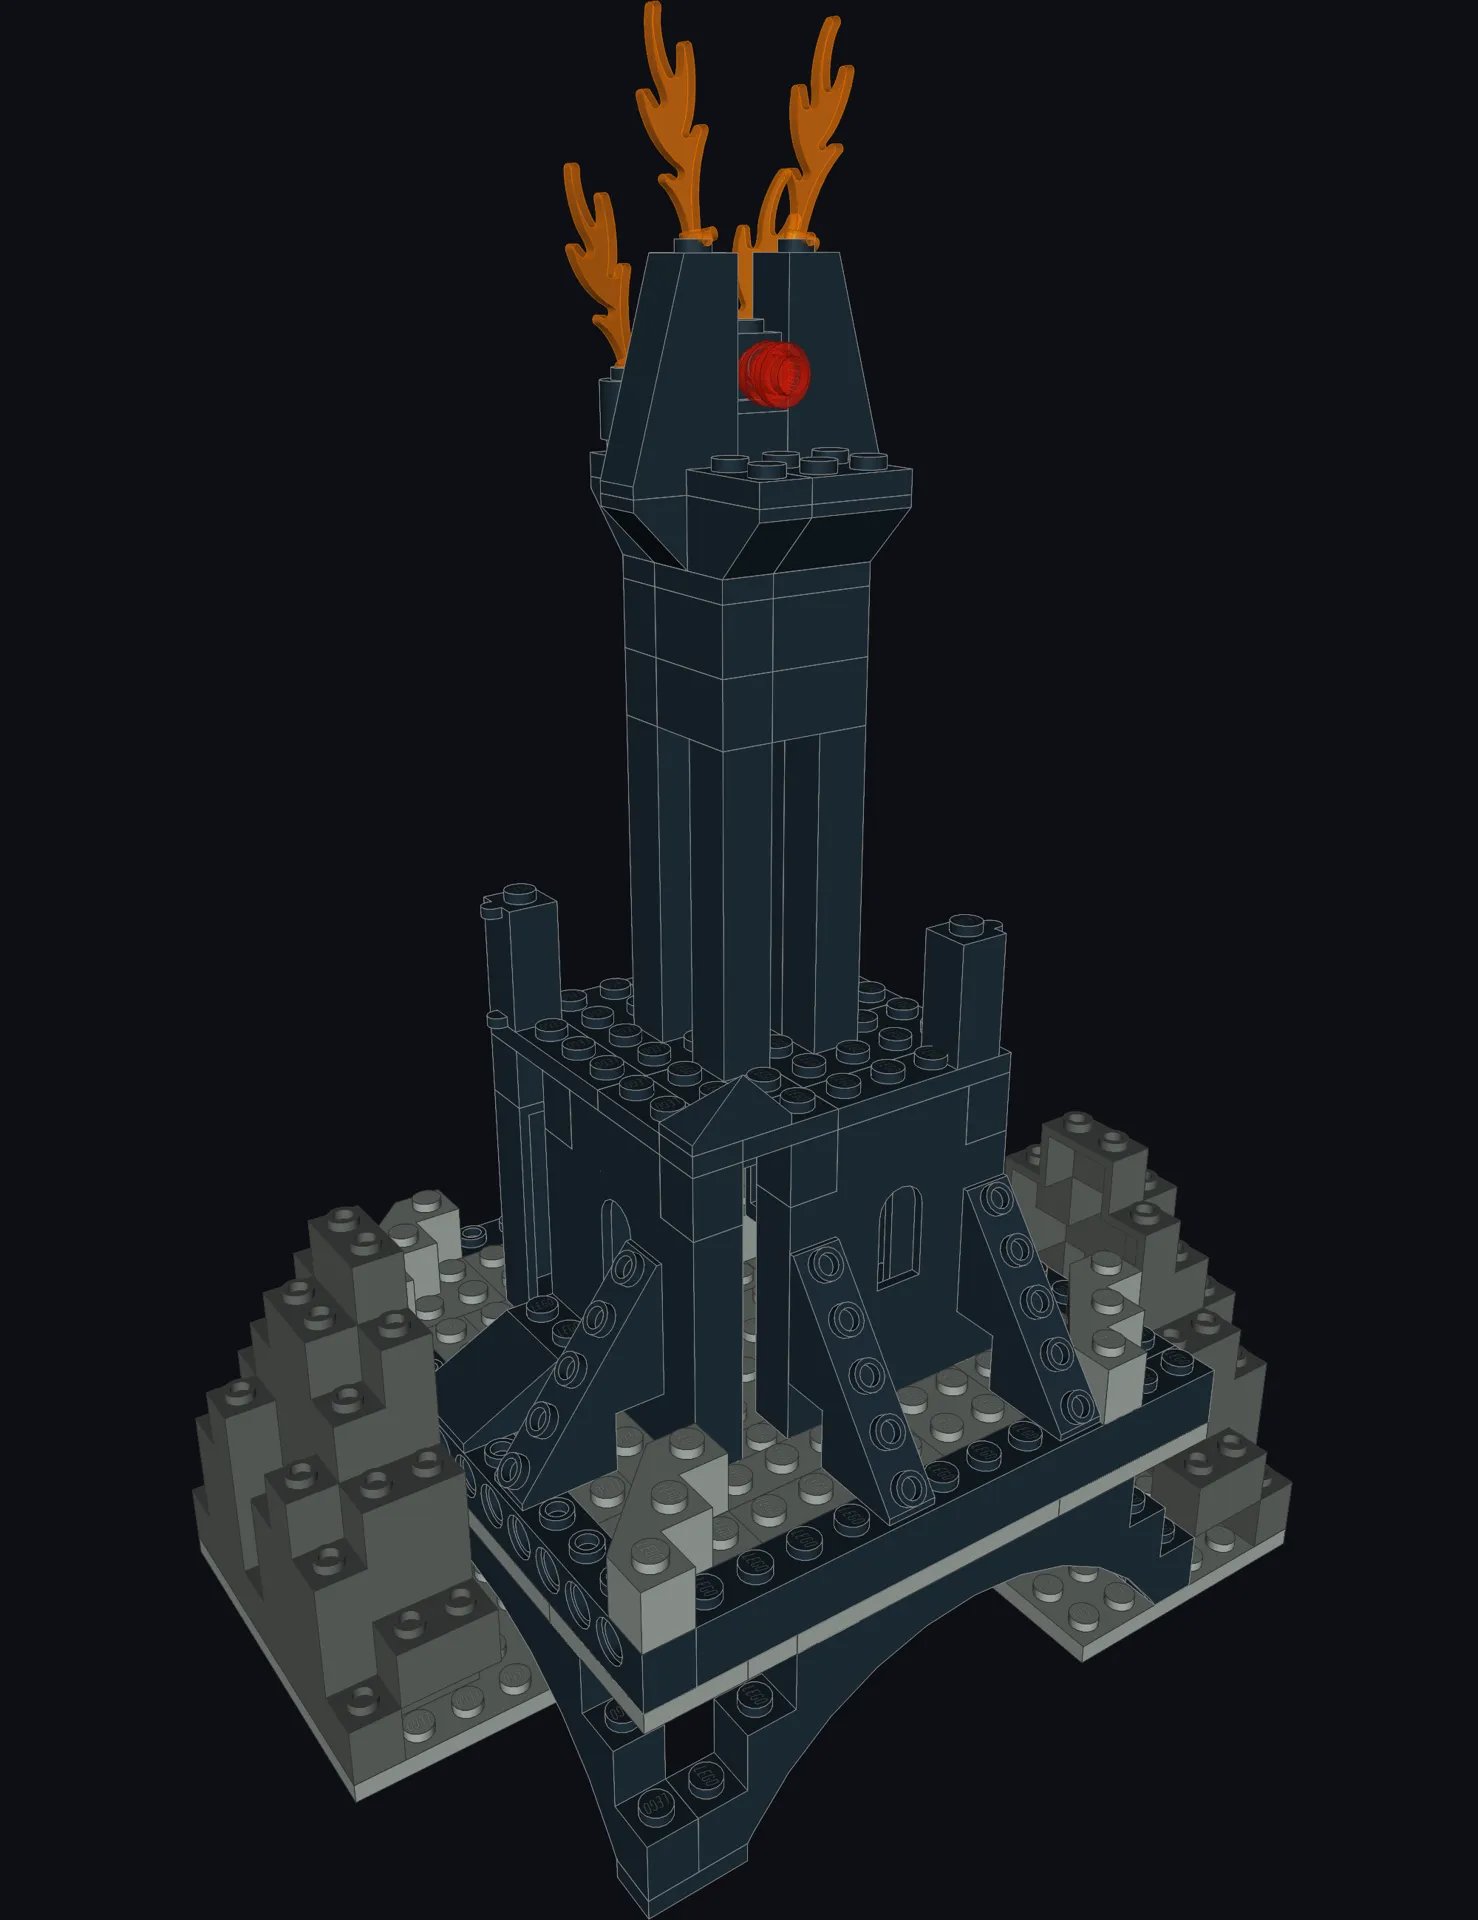
While doing research for my Lego Set Reconstruction project, I also stumbled across Rebrickable. This site has tons of fan-made building instructions you can use to build new models from your existing sets, e.g. Star Wars X-Wings from Race Cars. Some of these MOCs (short for “My Own Creation”) can be downloaded for free, some cost a few euros. I was particularly intrigued by the Perseverance Falcon, which will allow me to turn my Mars Rover set into a Star Wars spaceship.
The digital tools for creating 3D models of Lego sets and generating building instructions for these are quite advanced. A model can be stored in a plain text “.ldr” LDraw file, an open standard for Lego CAD programs. BrickStep transforms these into instructions. Since LLMs like Claude are pretty good at anything text-based, they can also generate LDR files and thus Lego CAD models. I asked Claude Fable 5 to rebrick my Lego 6082-1 Fire Breathing Fortress set into Barad-dûr from Lord of the Rings. The result is not perfect but interesting enough to build it. If you are interested, download Fire Breathing Barad-dûr here.